
This guide for How to Replace Drum Brakes walks you through full drum brake replacement: pre‑job checks, required tools & parts, seven key steps from wheel removal to test drive, plus common mistakes to avoid.
What You’ll Need to Change Drum Brakes
Gather everything before you start so the job does not stall halfway.
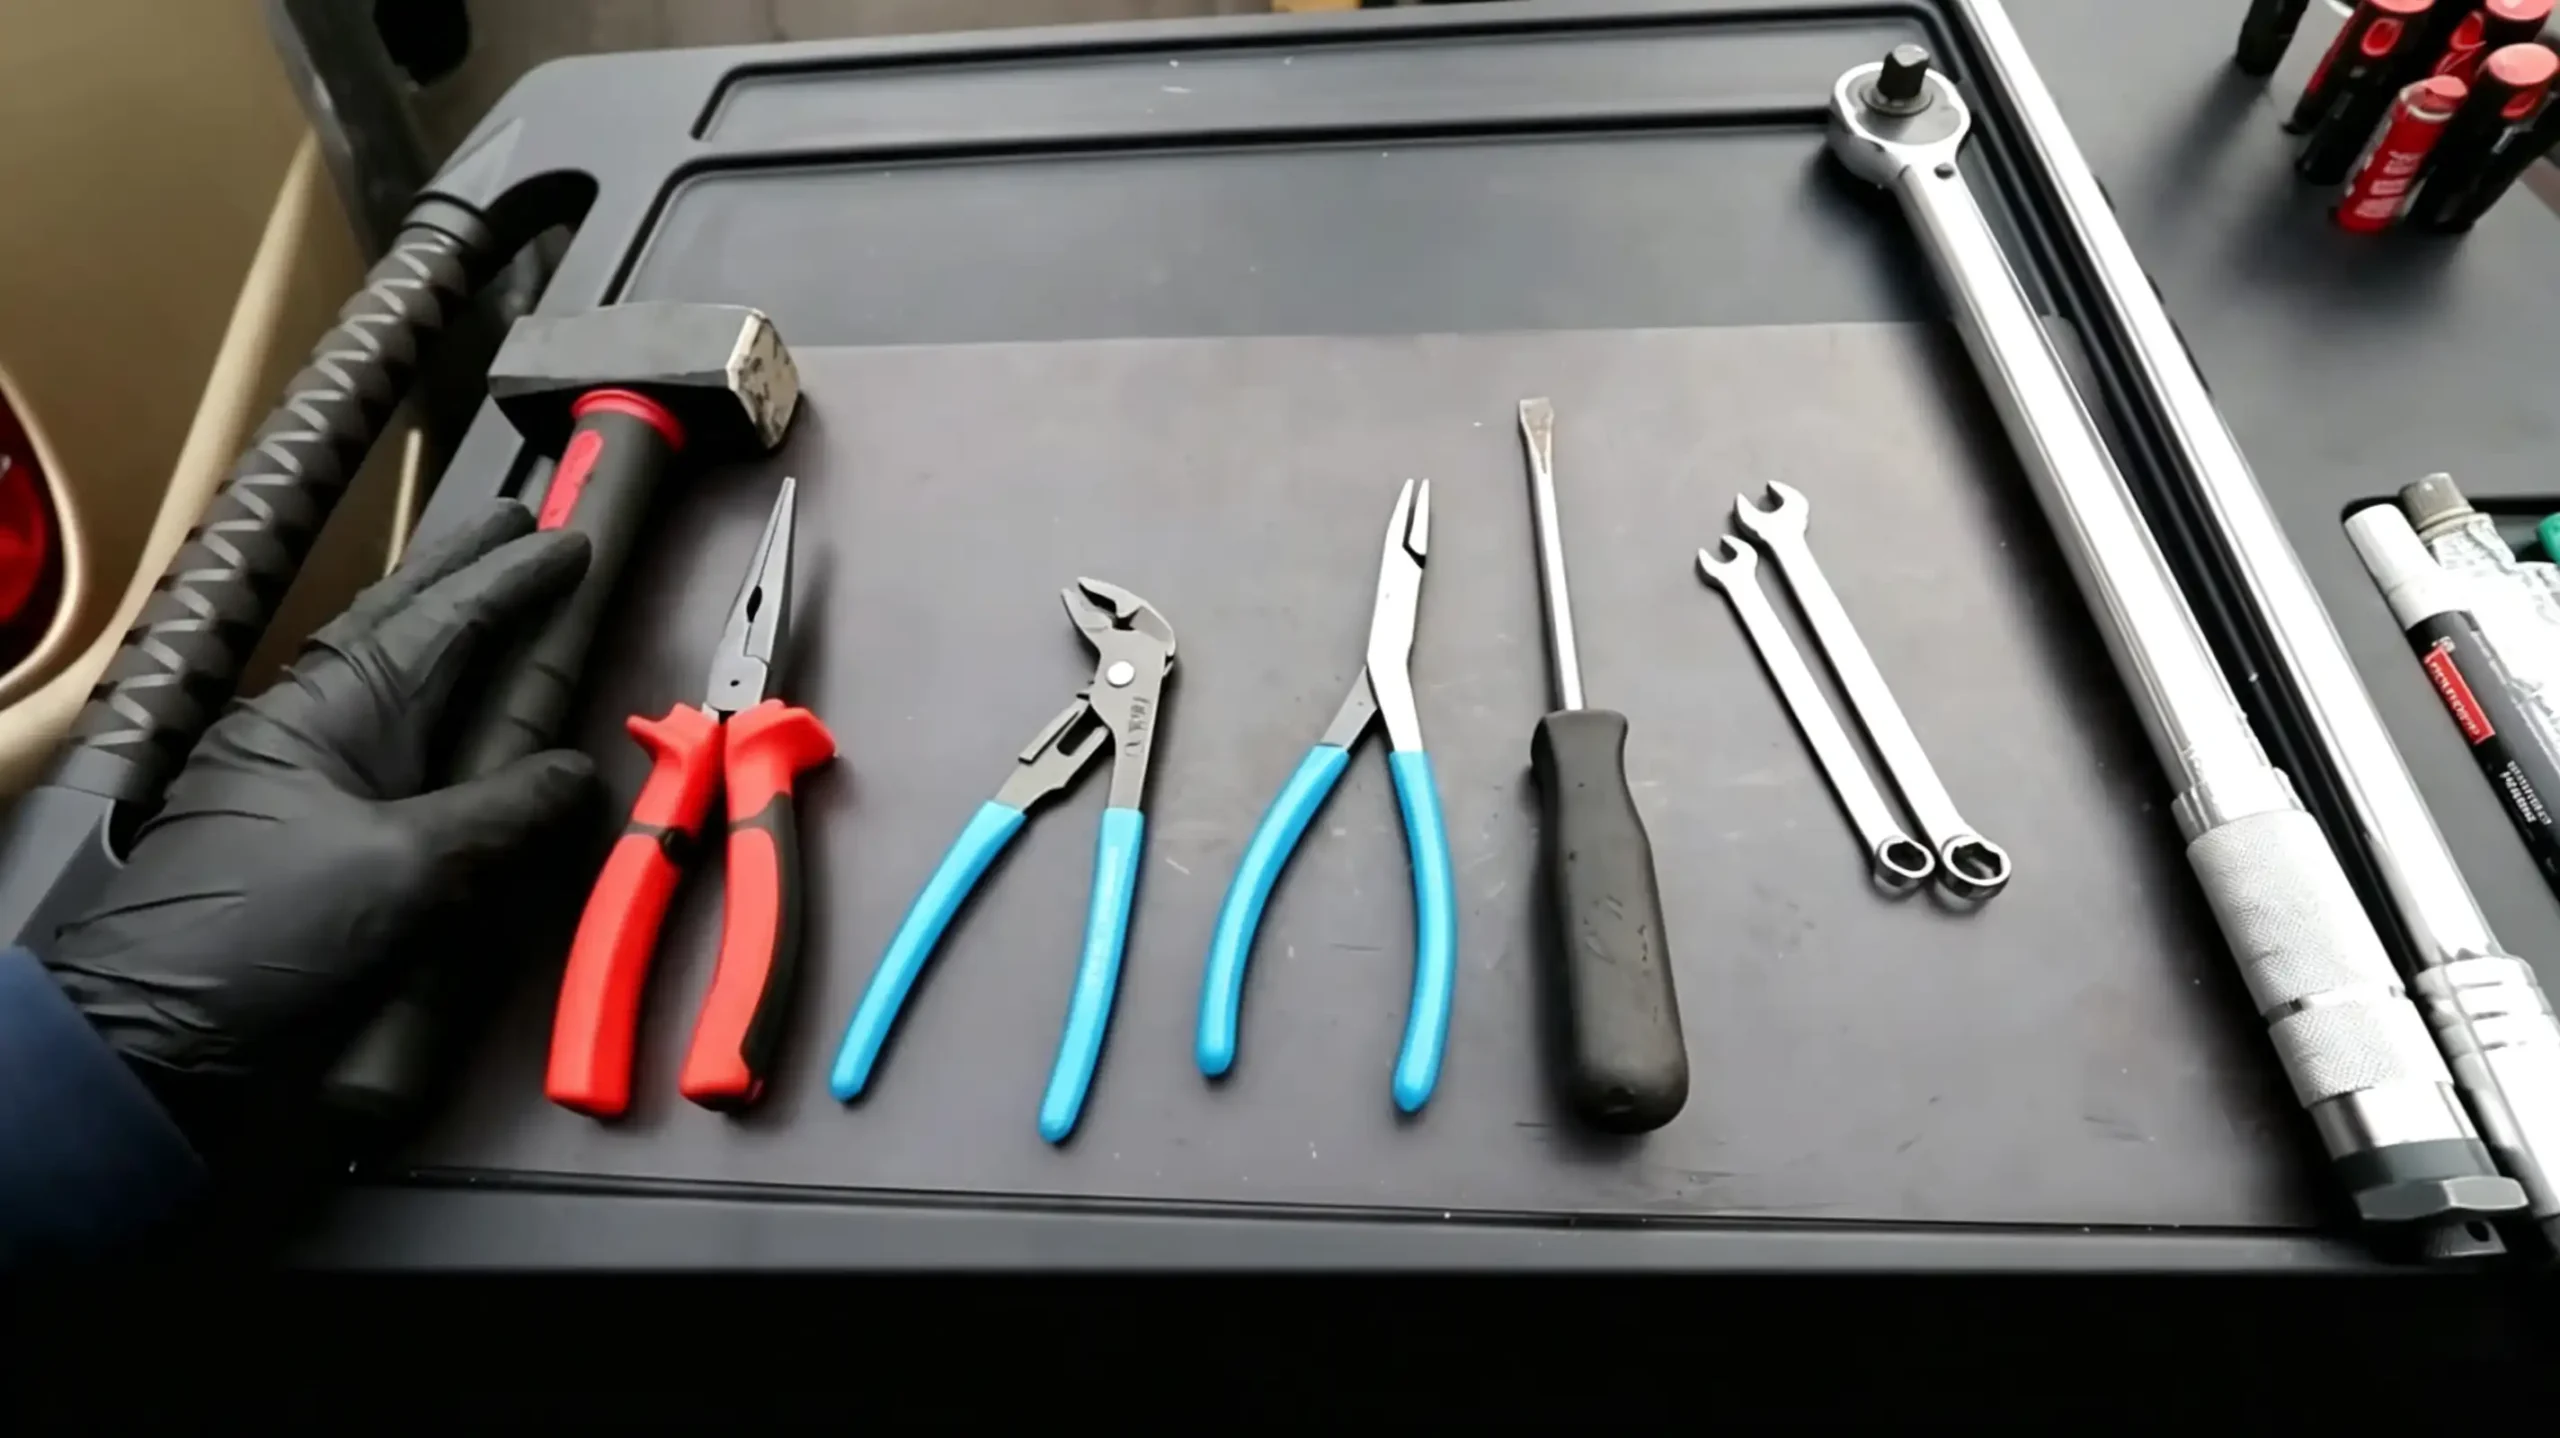
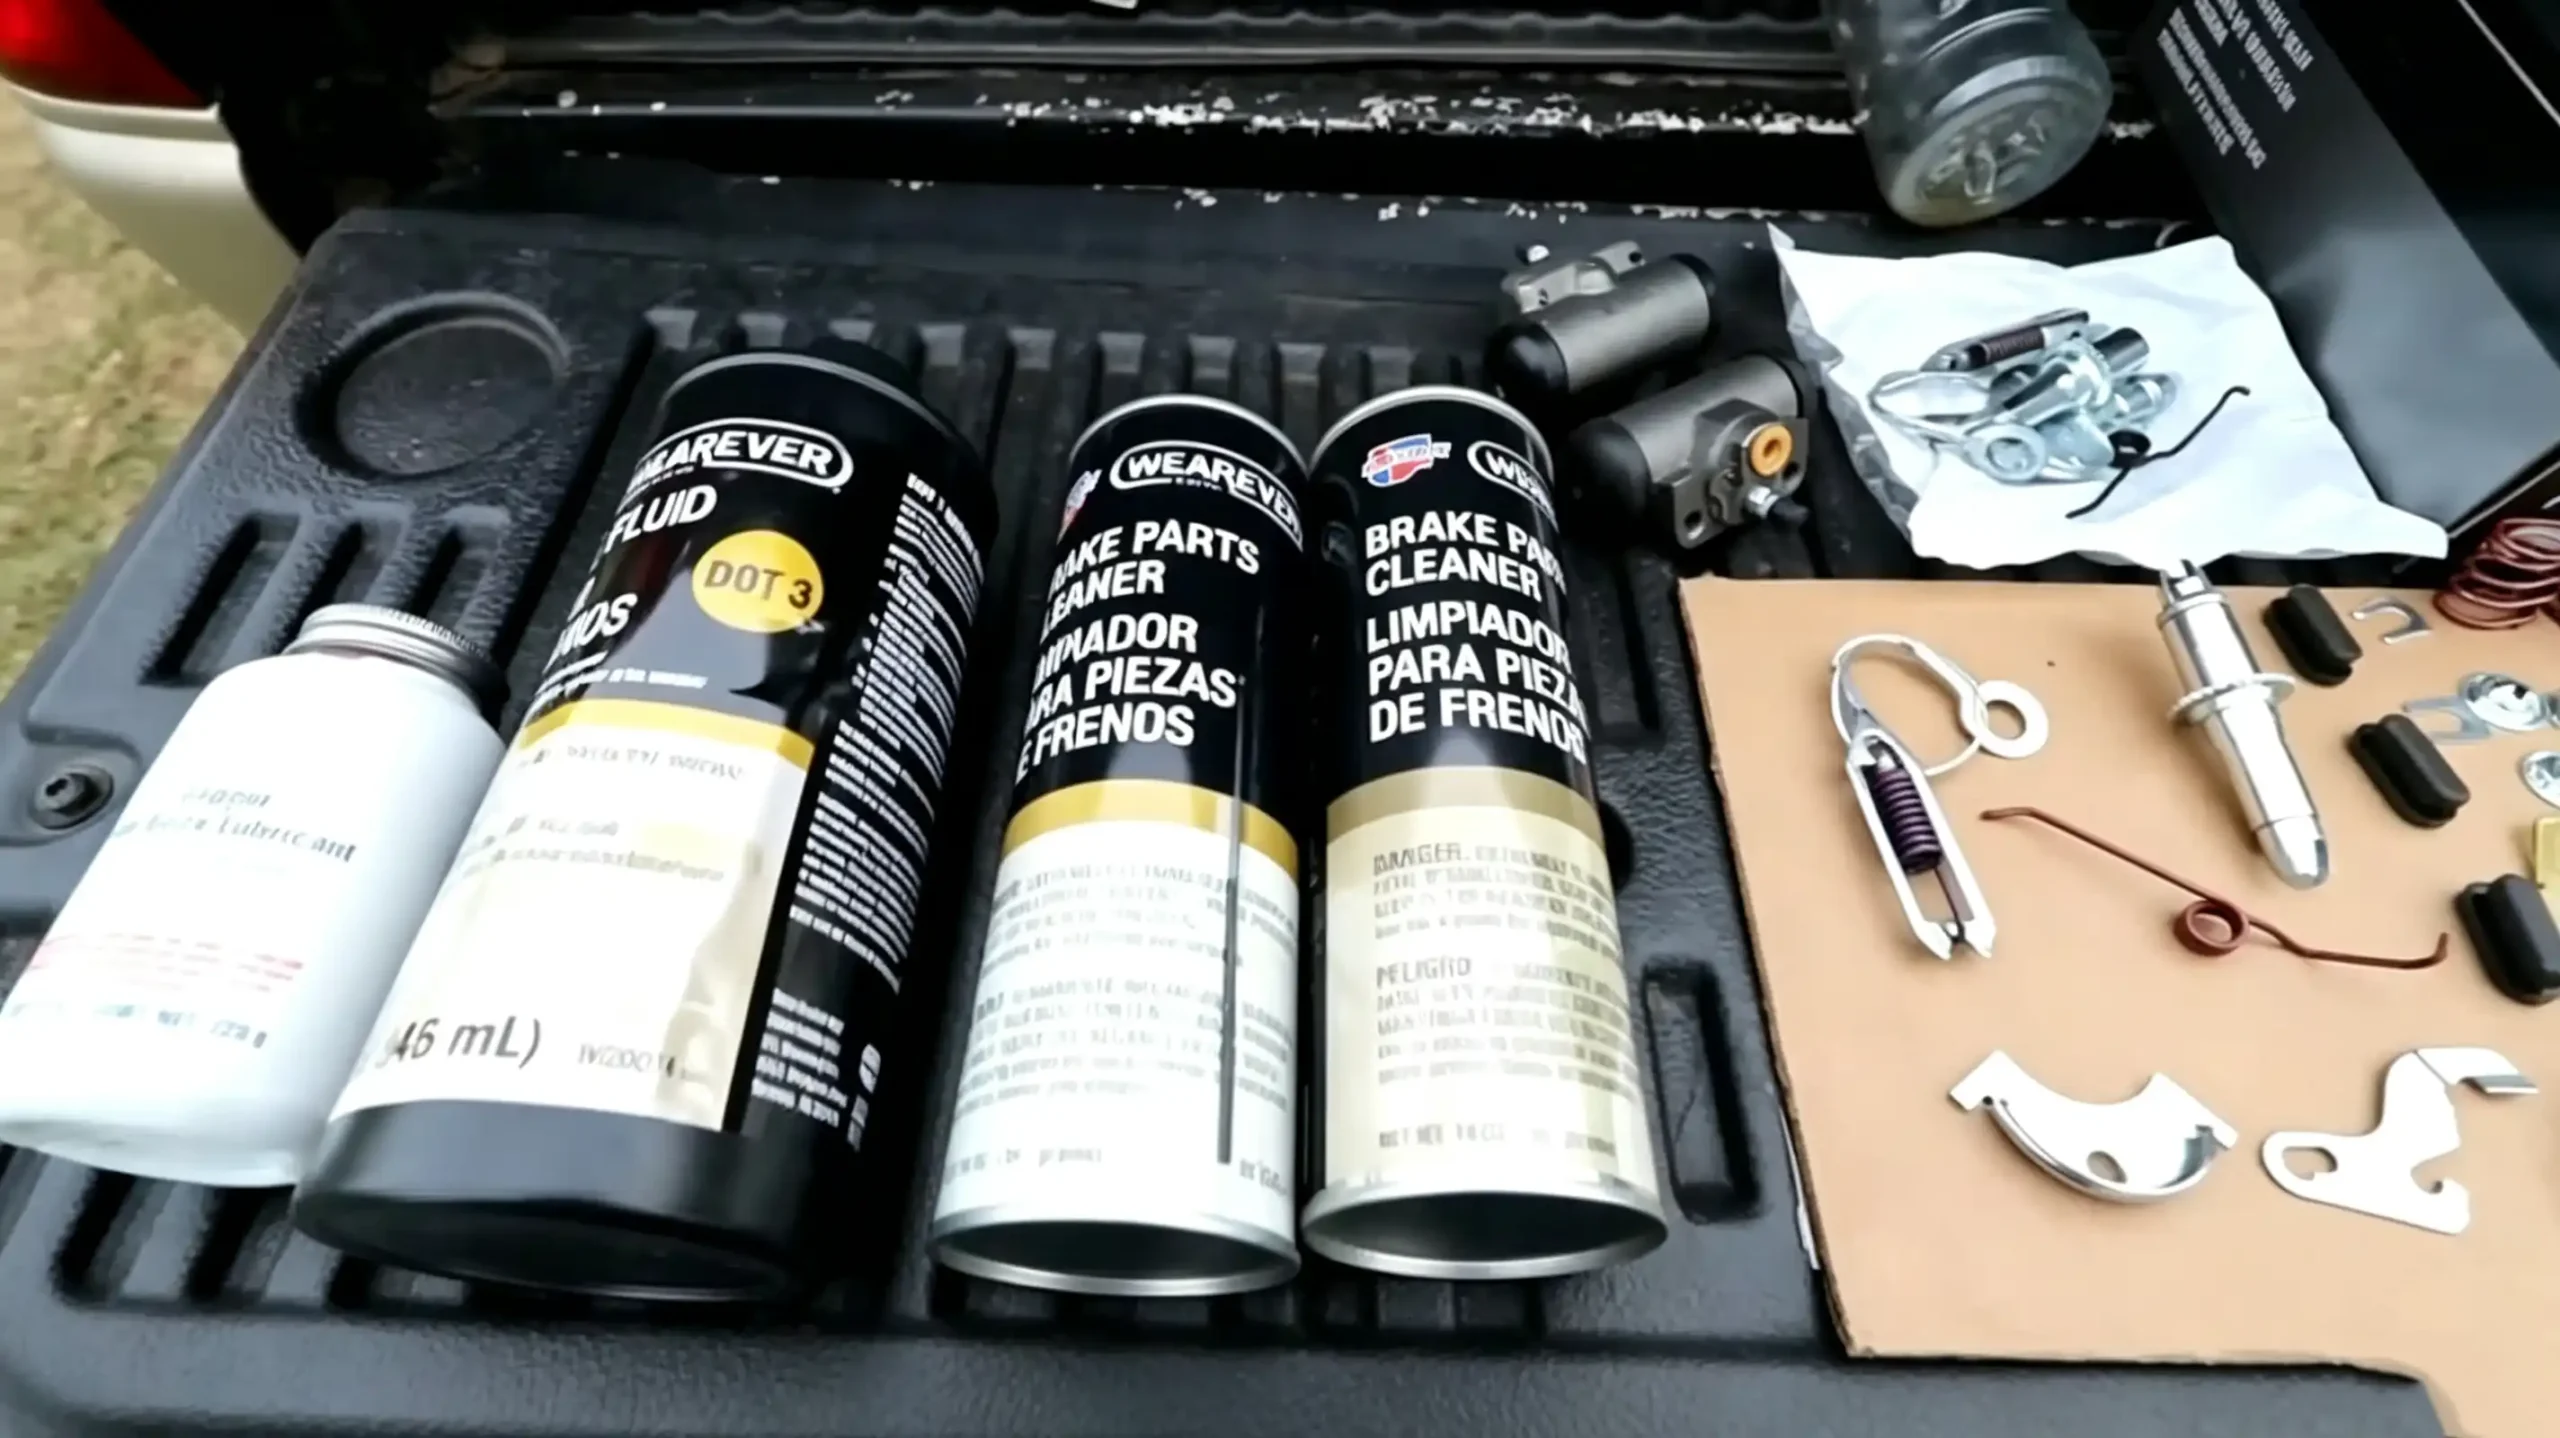
For tools, you will need a lug wrench, a torque wrench, a brake adjustment tool (or brake spoon), needle-nose pliers, penetrating oil, brake cleaner, and, as a fallback for a stuck drum, a brake drum puller. For parts, you need new brake shoes, a new or machined drum, and a hardware kit with fresh return springs and hold-down pins. You will also need high-temperature brake grease for the contact points.
Two ground rules apply before you begin. First, replace both sides at the same time so the two sides wear and brake evenly. Second, always have new hardware on hand, because worn springs throw off adjustment and shorten the life of the new shoes.
When to Replace: Common Signs You Need Drum Brake Replacement
Drum brakes rarely fail without warning. Listen and look for these signs before you decide the brakes are the problem.
A grinding or squealing sound when you brake means the friction lining has likely worn through. A pedal that vibrates or pulses under your foot points to an out-of-round drum. Reduced stopping power, or fade, suggests the brakes are overheating or the linings are glazed.
Inspect as well as listen. Brake shoes worn to less than about 1/16 of an inch of lining should be replaced. On the drum itself, look for scoring, heat cracks, hot spots, and glazing; a drum that exceeds its stamped diameter limit, or one with deep gouges, must be replaced rather than machined.
Step 1: Safety and Preparation
Park the vehicle on a flat, level surface, chock the wheels, and loosen the lug nuts before you lift anything. Raise the rear of the vehicle and support it securely on jack stands, then release the parking brake so the drum can spin free.
Step 2: How To Remove Brake Drum Without Puller
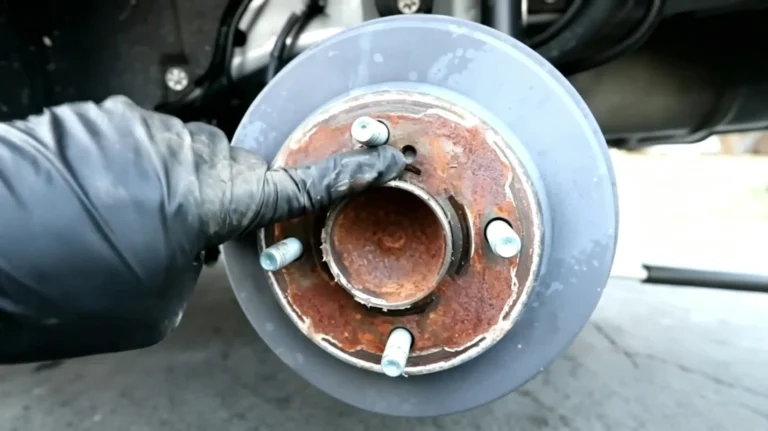
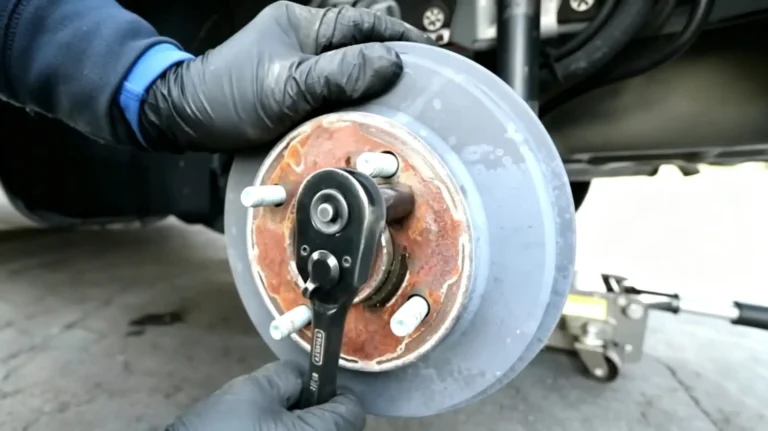
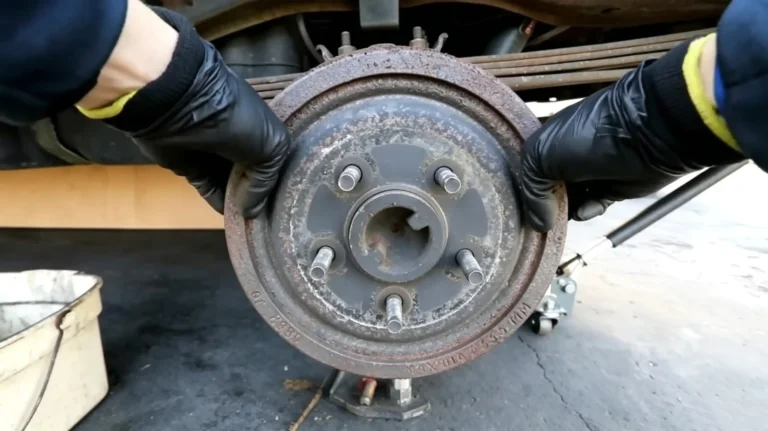
Take off the lug nuts and wheel to expose the drum. Some drums are held on by small retaining screws; remove those first if yours has them.
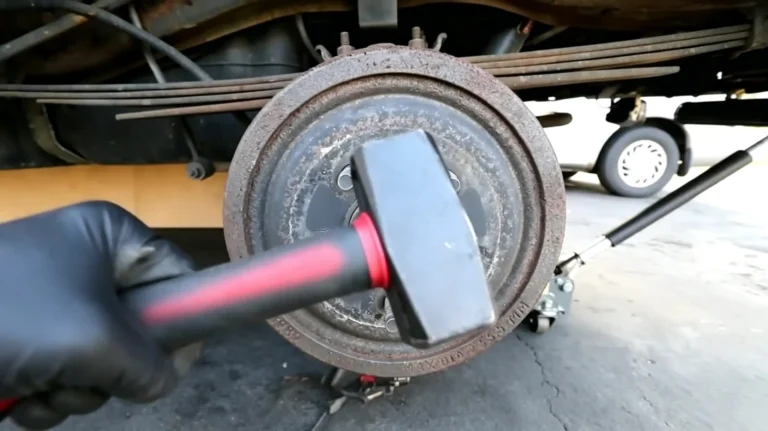
The drum often sticks to the hub after a long time in place. If it will not slide off, back off the adjuster first: reach through the access hole in the backing plate with a brake spoon and turn the star wheel until the shoes retract and release their grip. If it still holds, spray penetrating oil around the hub and let it soak for several minutes. Then work the drum free with a rubber mallet or a drum puller, tapping evenly around the rim.
Step 3: Remove the Old Shoes
Start by photographing the assembly from a couple of angles. Drum brakes are a puzzle of springs, levers, and pins, and when it is time to put everything back, the photo shows where each piece goes. One extra safeguard is to leave the opposite wheel assembled and use it as a live reference: work one side at a time, and only open up the other side once the first is back together.
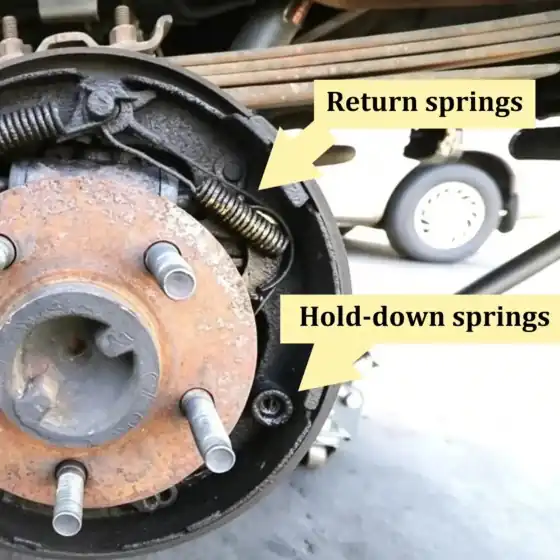
The shoes are held by two kinds of spring, and it helps to tell them apart. Return springs stretch between the two shoes near the top and bottom and pull them toward each other. Hold-down springs are small coils fitted over a thin pin that passes through the backing plate, with a slotted retainer on the outside holding each shoe against the plate.
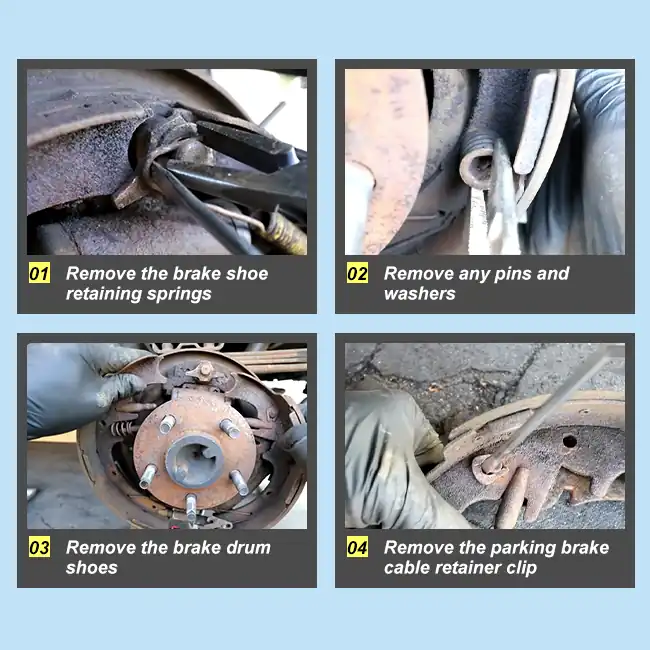
Remove the return springs first, from the top down. These springs carry very heavy tension, so work carefully with needle-nose pliers or a dedicated spring tool, and keep your fingers clear. Unhook the top return spring to release the overall tension, then the lower one; the lower spring comes away far more easily once the top is off.
Next, remove the hold-down hardware. Compress the coil spring and work the slotted retainer free of its pin, then lift the pin out from the back of the backing plate. Do the same on the second shoe. If the parking brake cable attaches to one shoe, pry up its retainer clip with a flathead screwdriver and disconnect the cable.
Step 4: Inspect and Clean
With the shoes off, check everything that stays behind.
Inspect the wheel cylinder for any wetness around the rubber ends or for cracked seals. A leaking cylinder must be replaced now, before it contaminates the new friction material with brake fluid. Clean the adjuster threads and coat them with anti-seize so the mechanism moves freely. On the backing plate, clean the raised contact points with a wire brush and apply a thin layer of high-temperature grease; keep grease off the friction surface of the shoes, since contamination is a leading cause of slipping brakes.
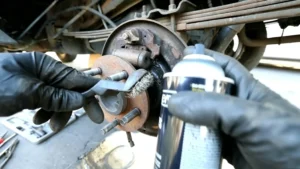
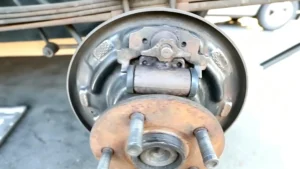
Step 5: Install the New Shoes
01.
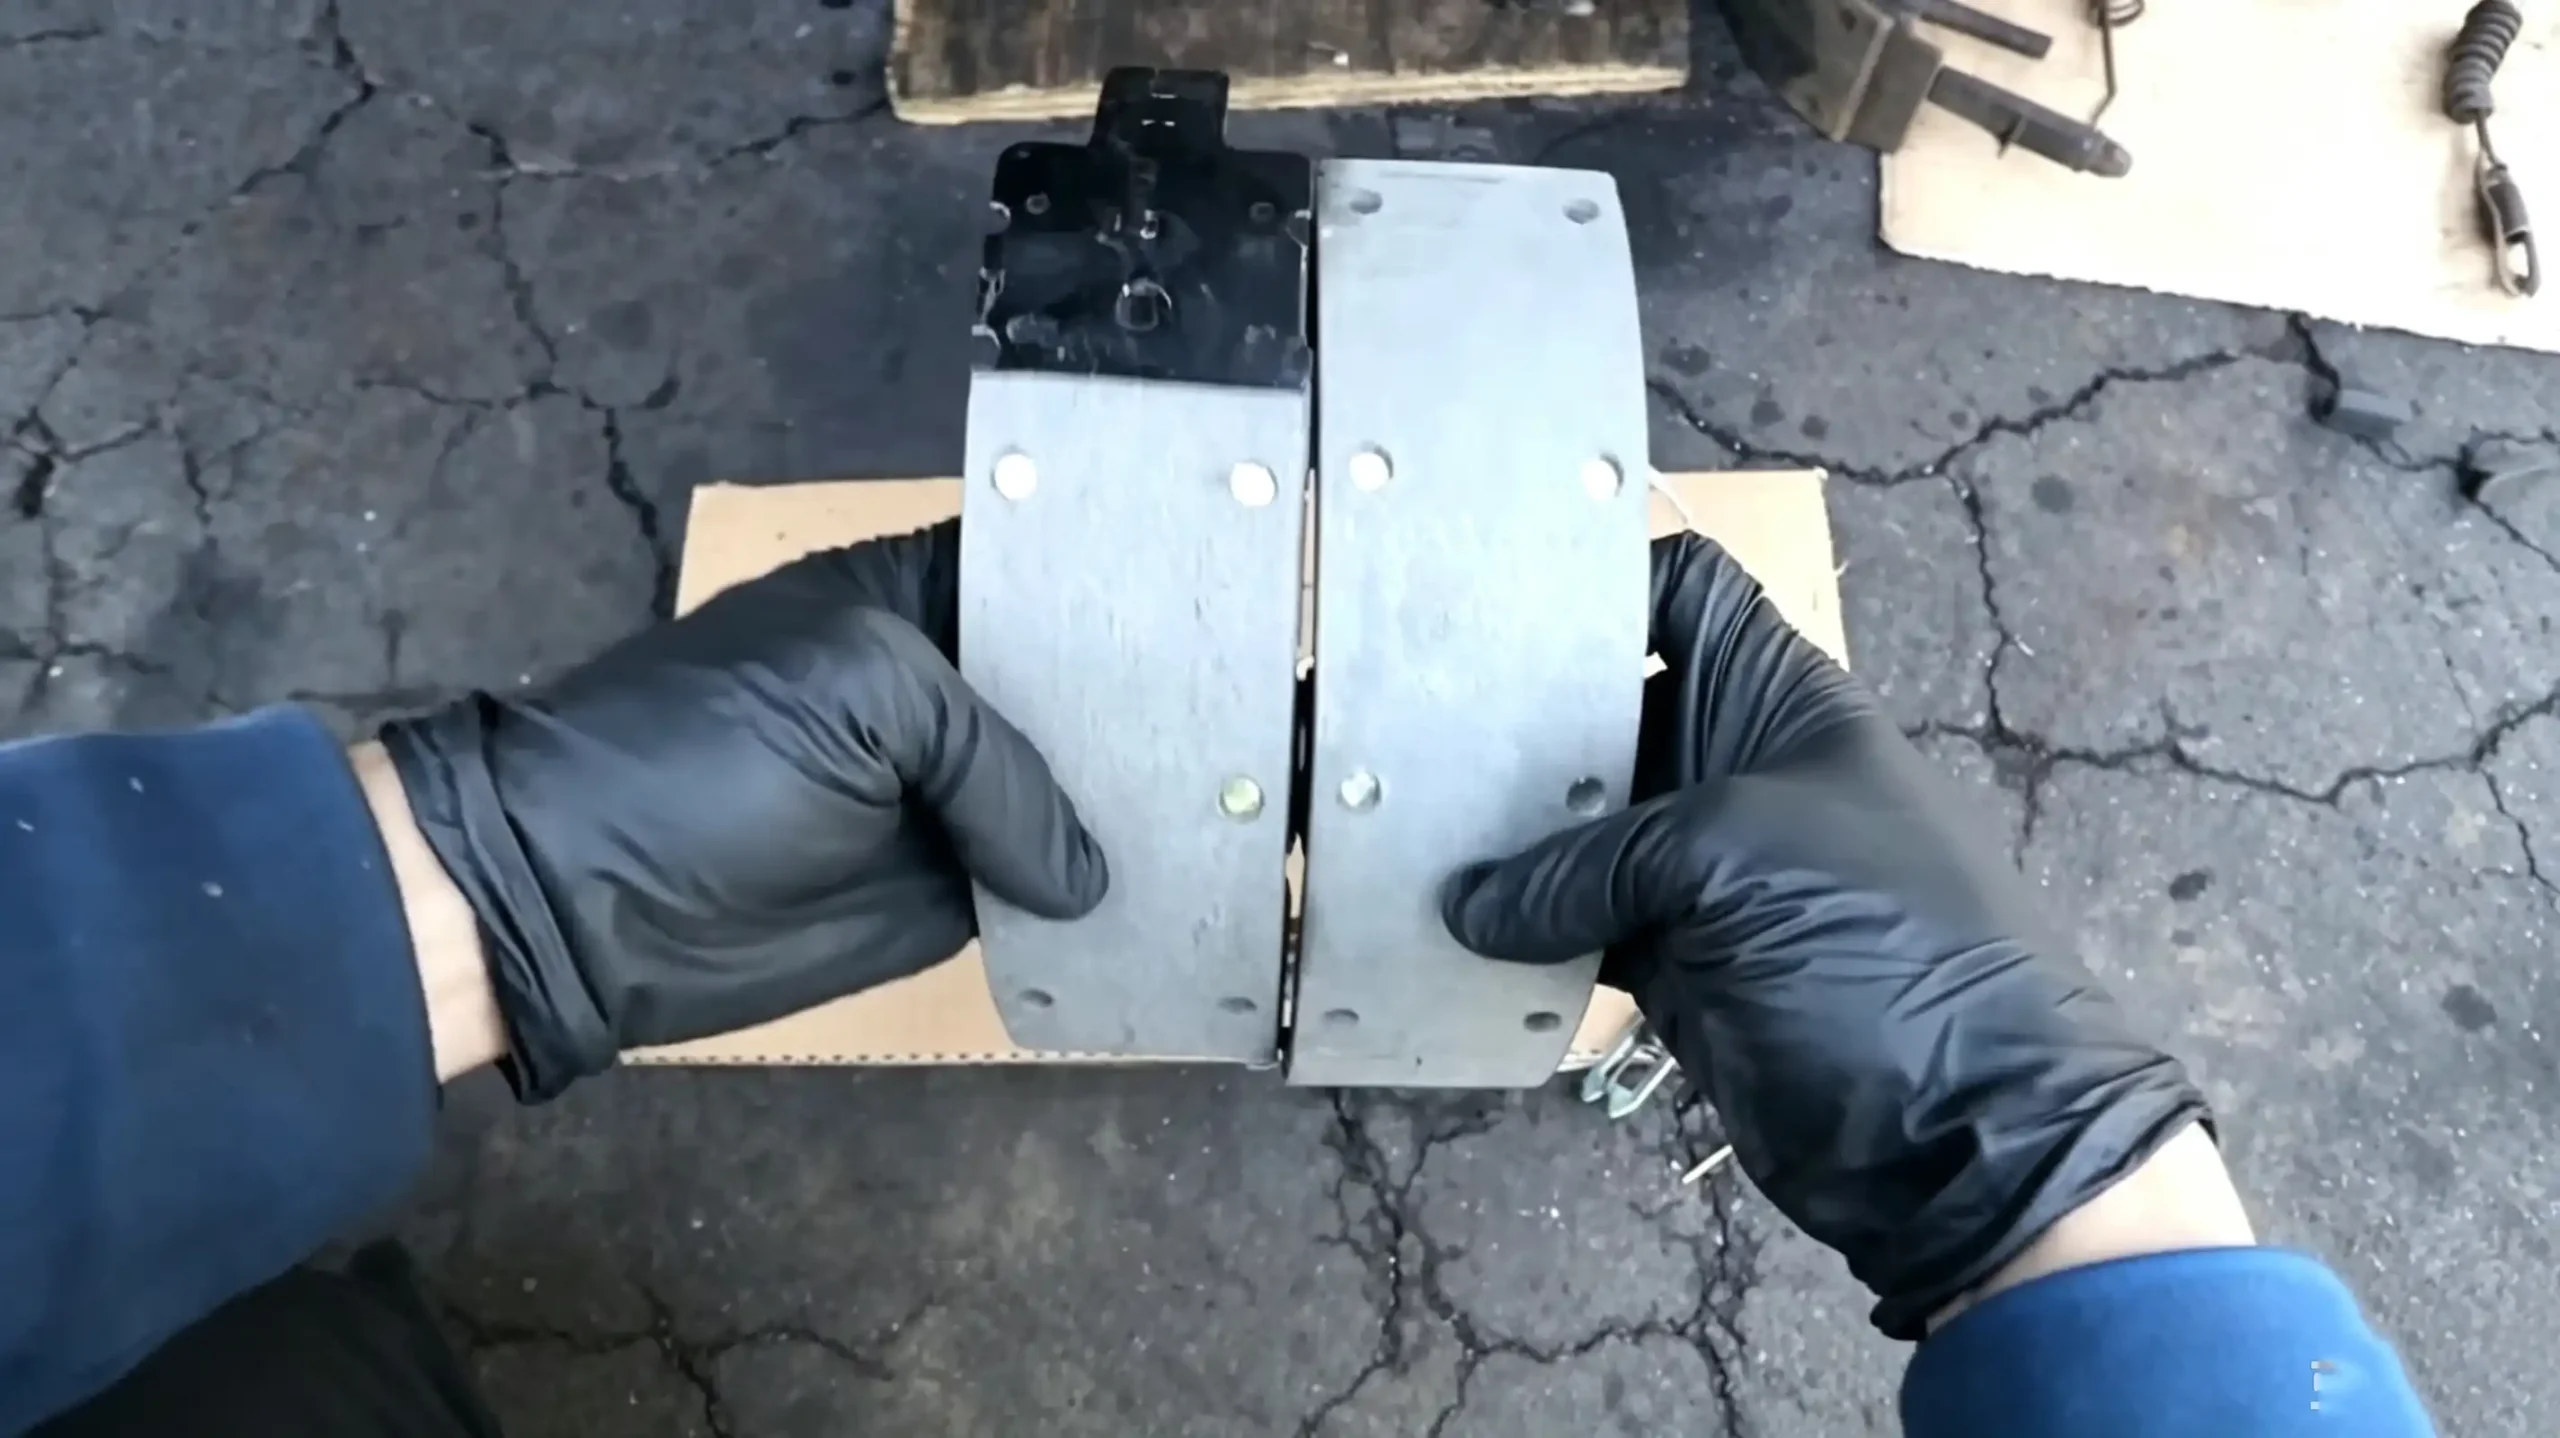
Sort the shoes
The leading shoe carries the shorter, thinner lining and faces the front; the trailing shoe carries the longer, thicker lining and faces the rear. Fitted the wrong way around, the brakes grab unevenly and wear fast.
02.
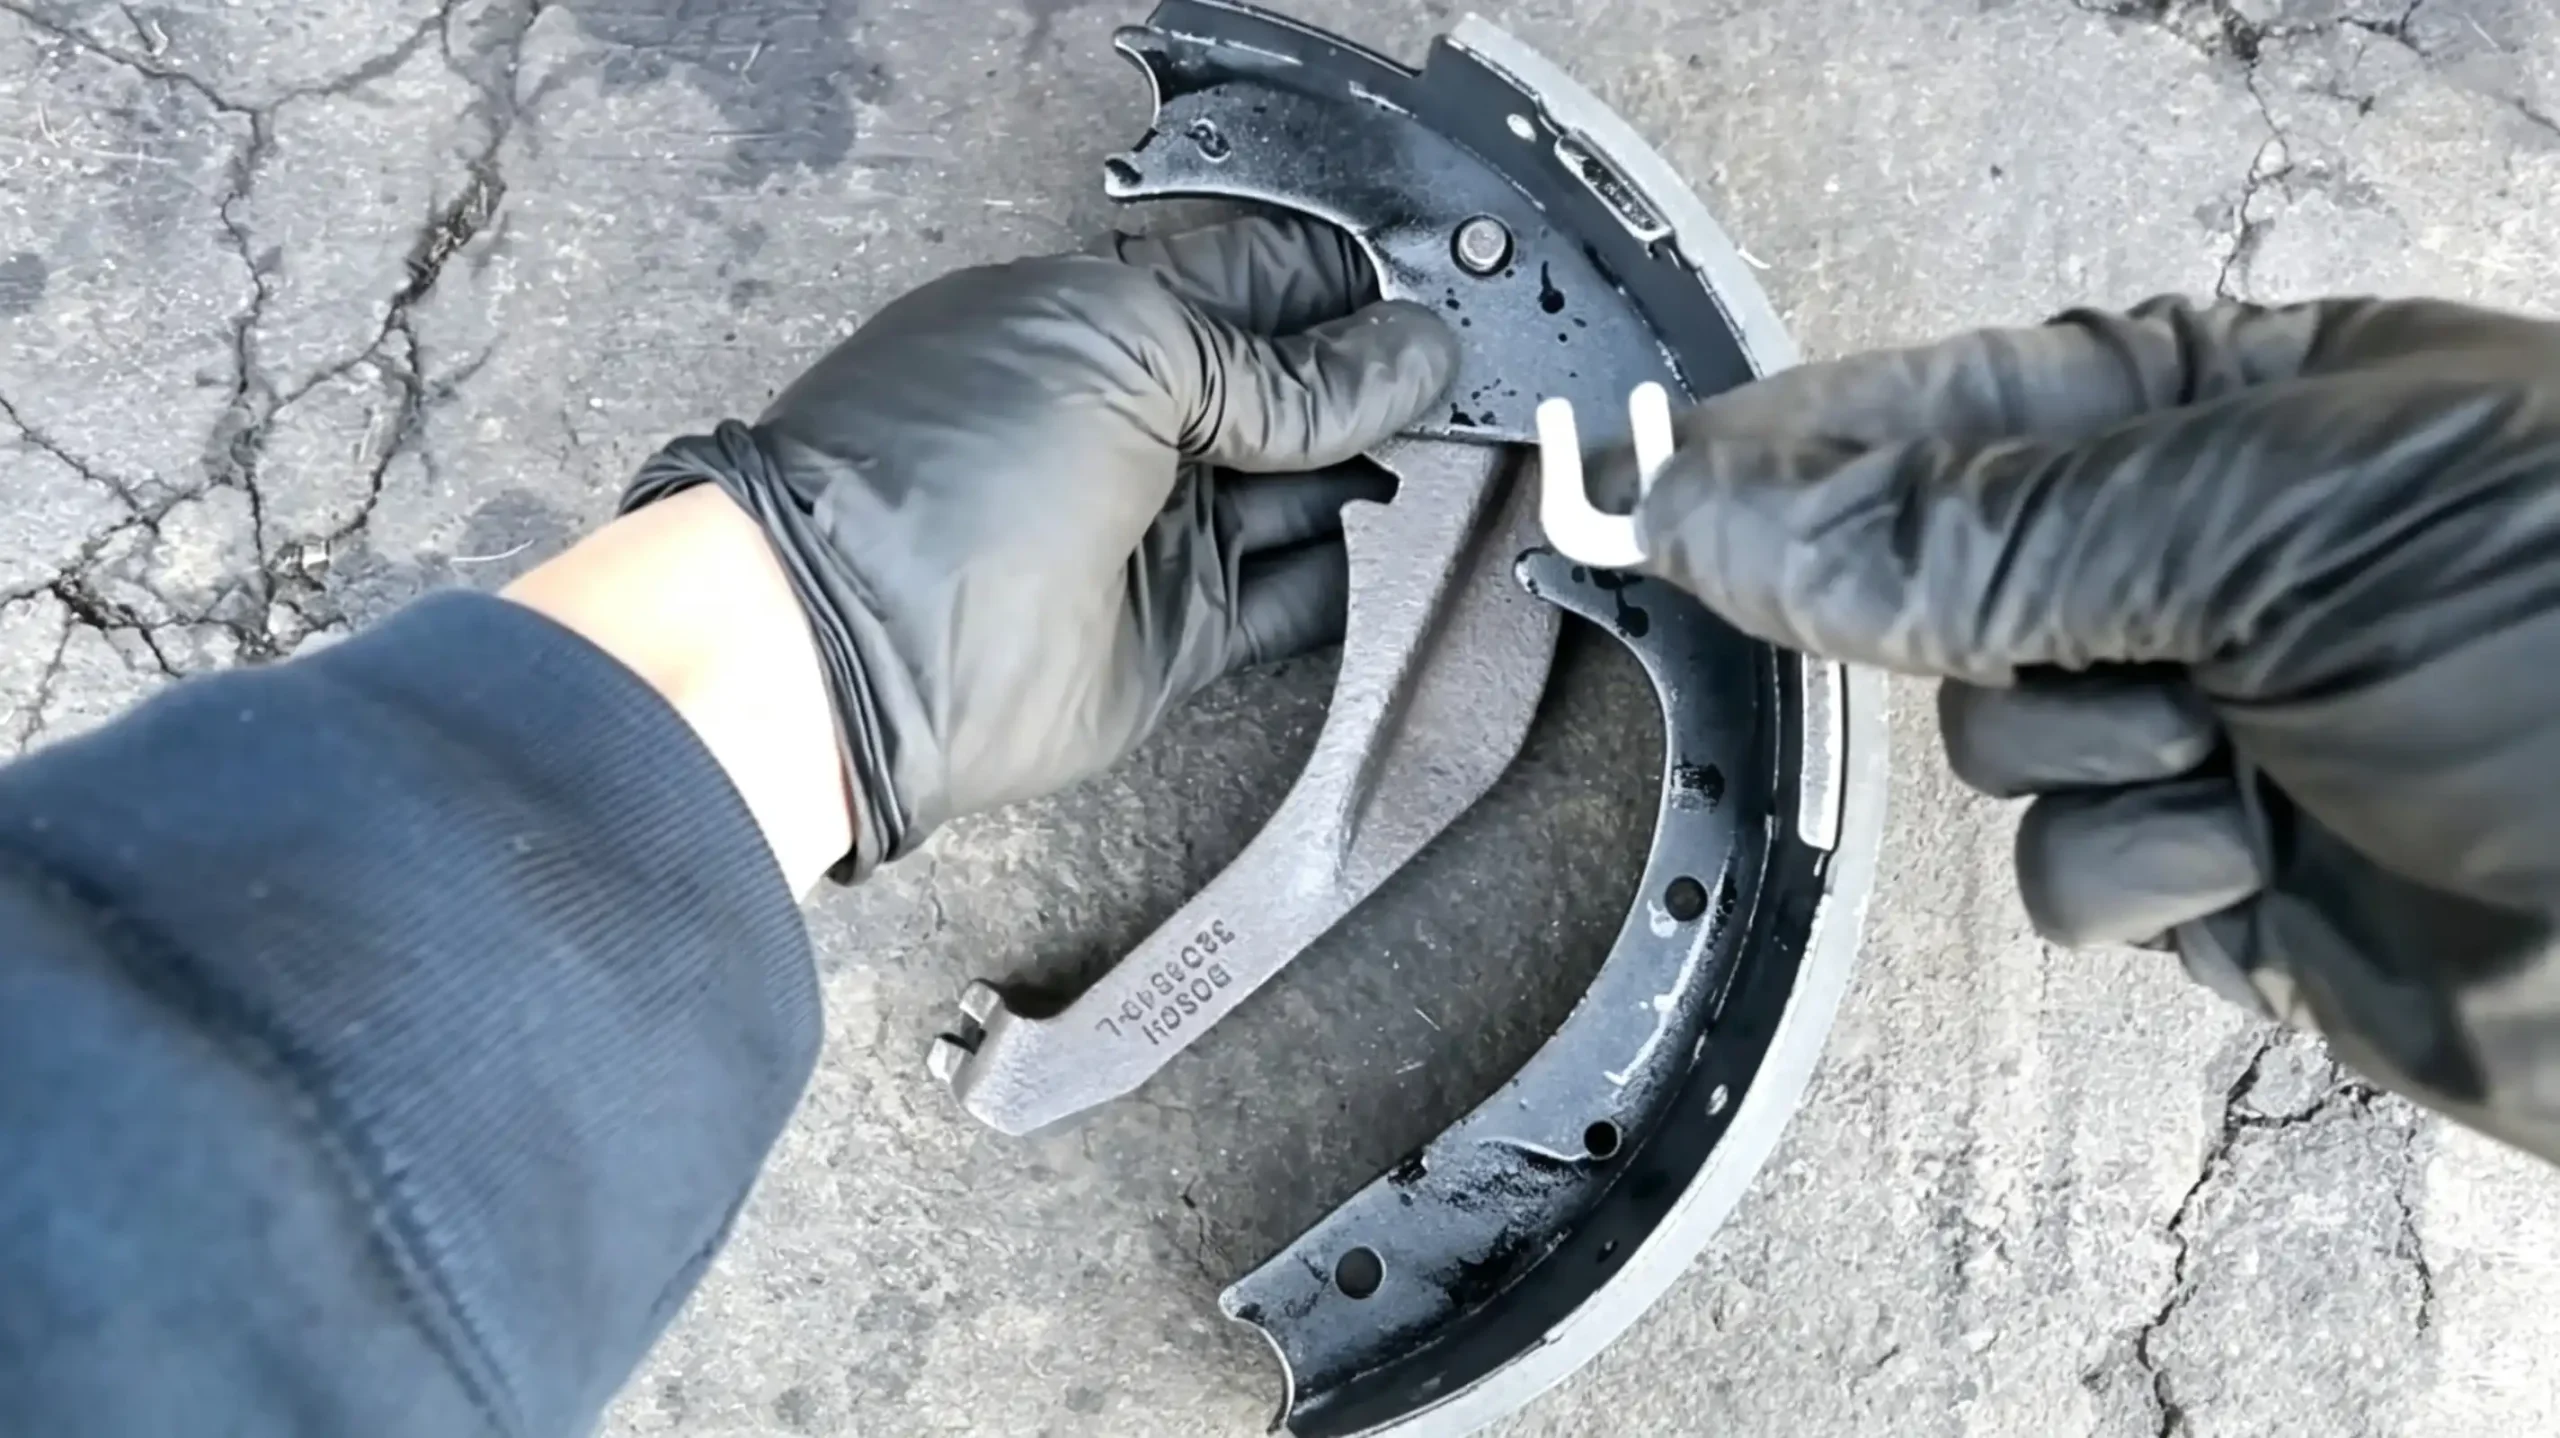
Fit the parking brake arm to the trailing shoe
Slide it in from behind and retain it with its pin.
03.
Fit the self-adjuster lever (where fitted) to the trailing shoe’s outer face.
Set its small secondary hook first; once the shoe is on the backing plate, the hook can no longer be fitted.
04.
Mount the adjuster between the lower ends of the shoes
Lubricate the threads, hook its spring on first, seat one end in one shoe, then work the other end into the opposite shoe. Keep the star wheel toward the parking brake arm.
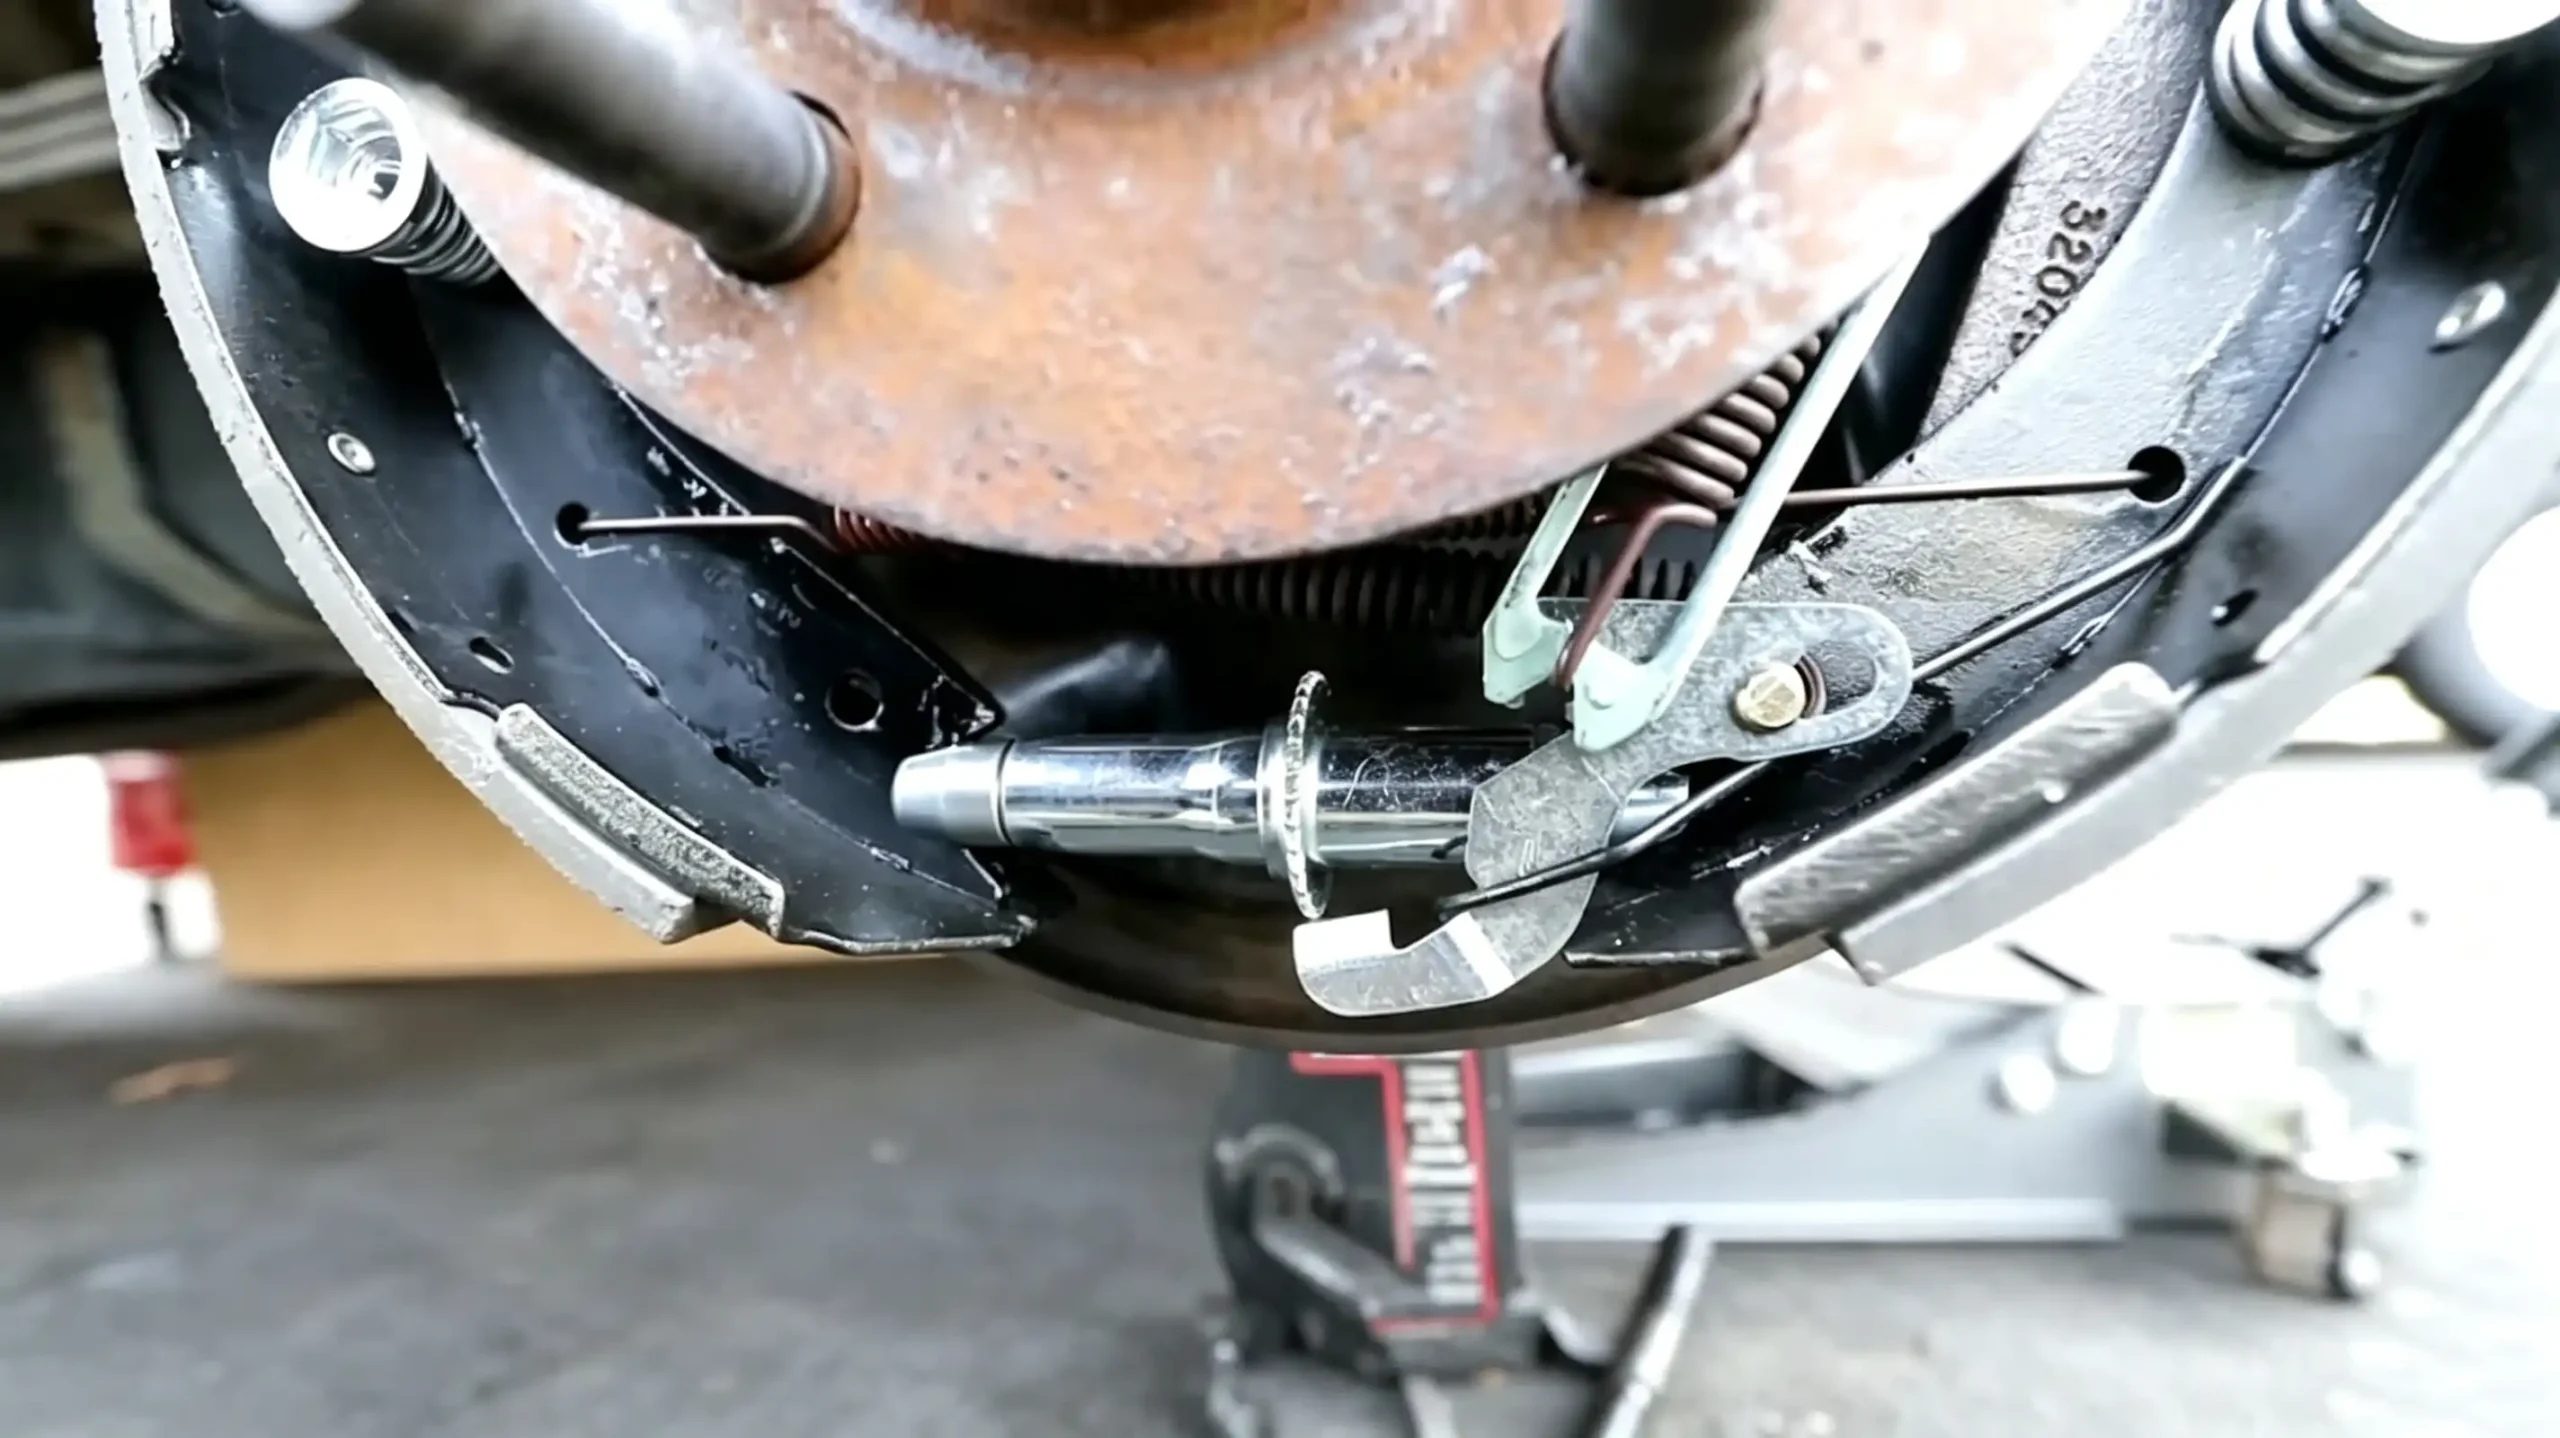
05.
Fix the shoes to the backing plate
Each shoe is held by a small coil spring over a pin that passes through the plate, capped by a slotted retainer; the self-adjuster lever uses its own flat-bottom spring, so fit its spring seat before the spring. Compress each spring with a spring tool while you seat the pin in the retainer.
06.
Refit the return springs
Work from the bottom up, and check your work against the photo.
Step 6: Install the Drum and Adjust
Clean the new or machined drum with brake cleaner, then slide it over the shoes onto the hub. If it will not slide on, the shoes are extended too far; draw them in slightly by turning the adjuster.
Now reach through the backing plate access hole and turn the star wheel to expand the shoes. The goal is a light drag: the drum should turn by hand with slight, even resistance, but it must not bind. A common rule of thumb is that a firm hand-spin should carry the drum about one full revolution. Do not overtighten, or the brakes will drag and overheat.
Step 7: Reassemble and Test Drive
Put the wheel back on and tighten the lug nuts to the manufacturer’s torque specification. Repeat the whole job on the other side, then check the brake fluid level in the master cylinder.
Pump the brake pedal a few times so the shoes seat and the system pressurizes. On a short, low-speed test drive, the pedal should feel firm and braking should be smooth and even, with no grinding and no pull to one side. If the pedal feels low or spongy, re-check the adjustment before driving further.