
How Do Drum Brakes Work
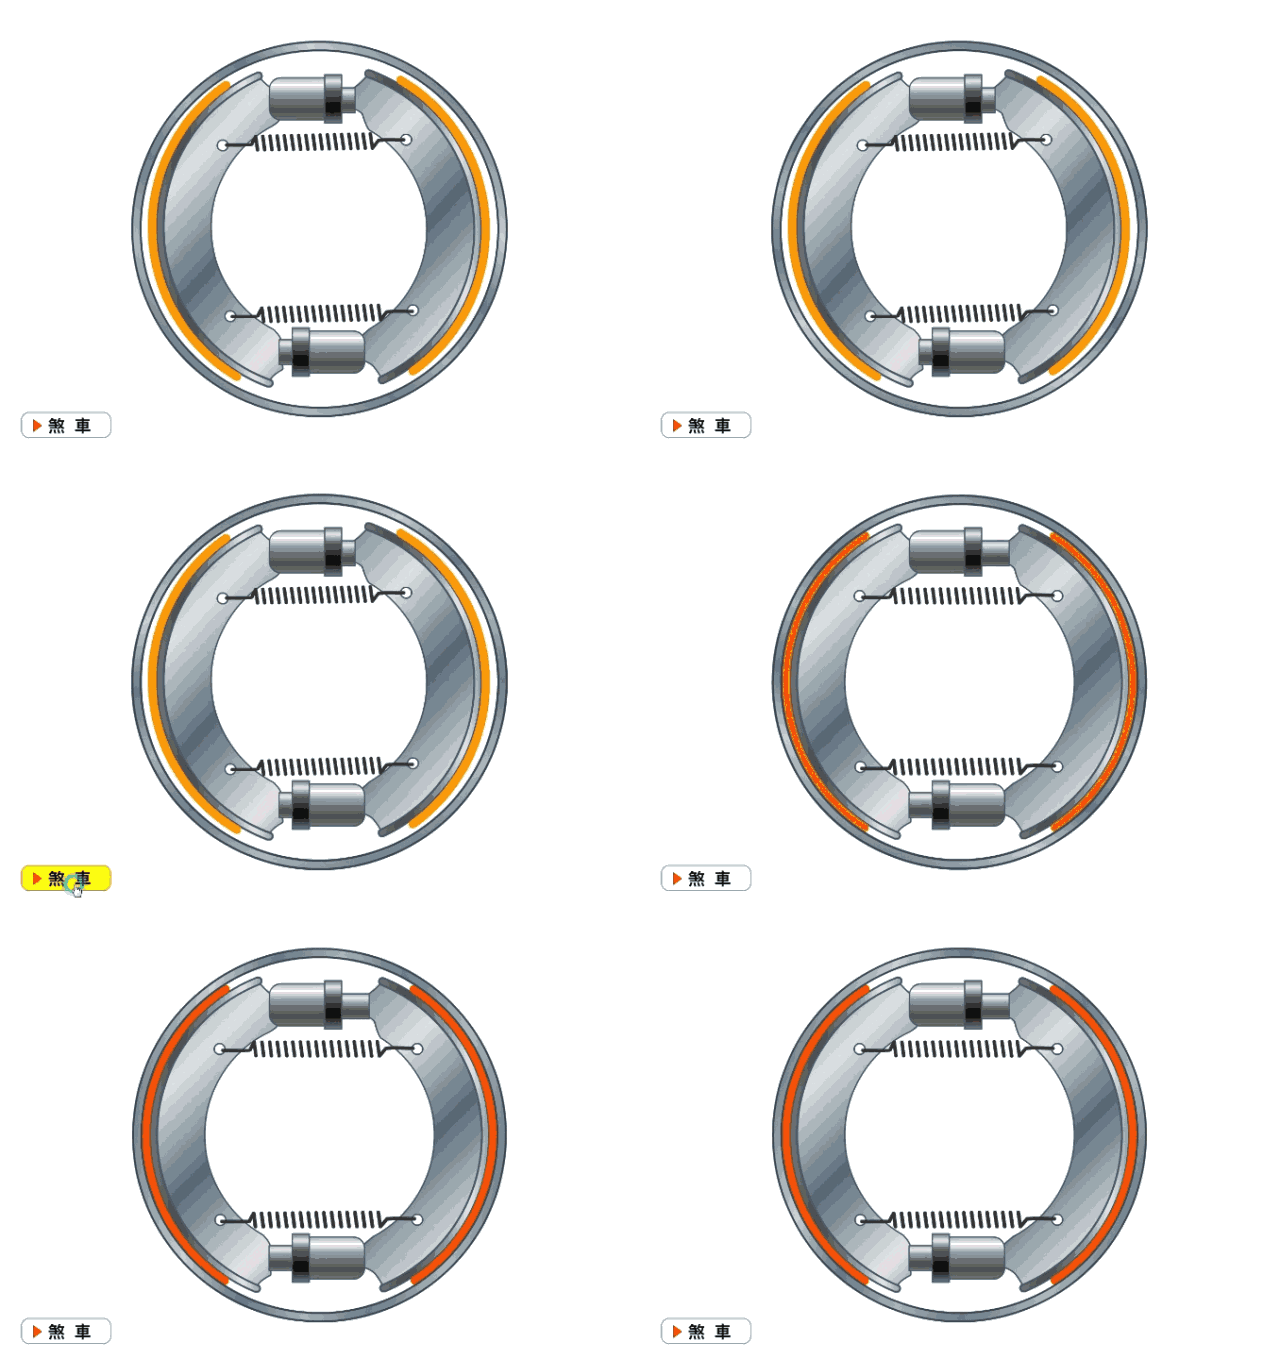
A drum brake slows a wheel with friction applied from the inside. A metal drum shaped like a shallow cylinder spins with the wheel. Two curved brake shoes sit inside it. When you press the brake pedal, the shoes press outward against the drum’s inner surface. The resulting friction resists the drum’s rotation, and the wheel slows down.

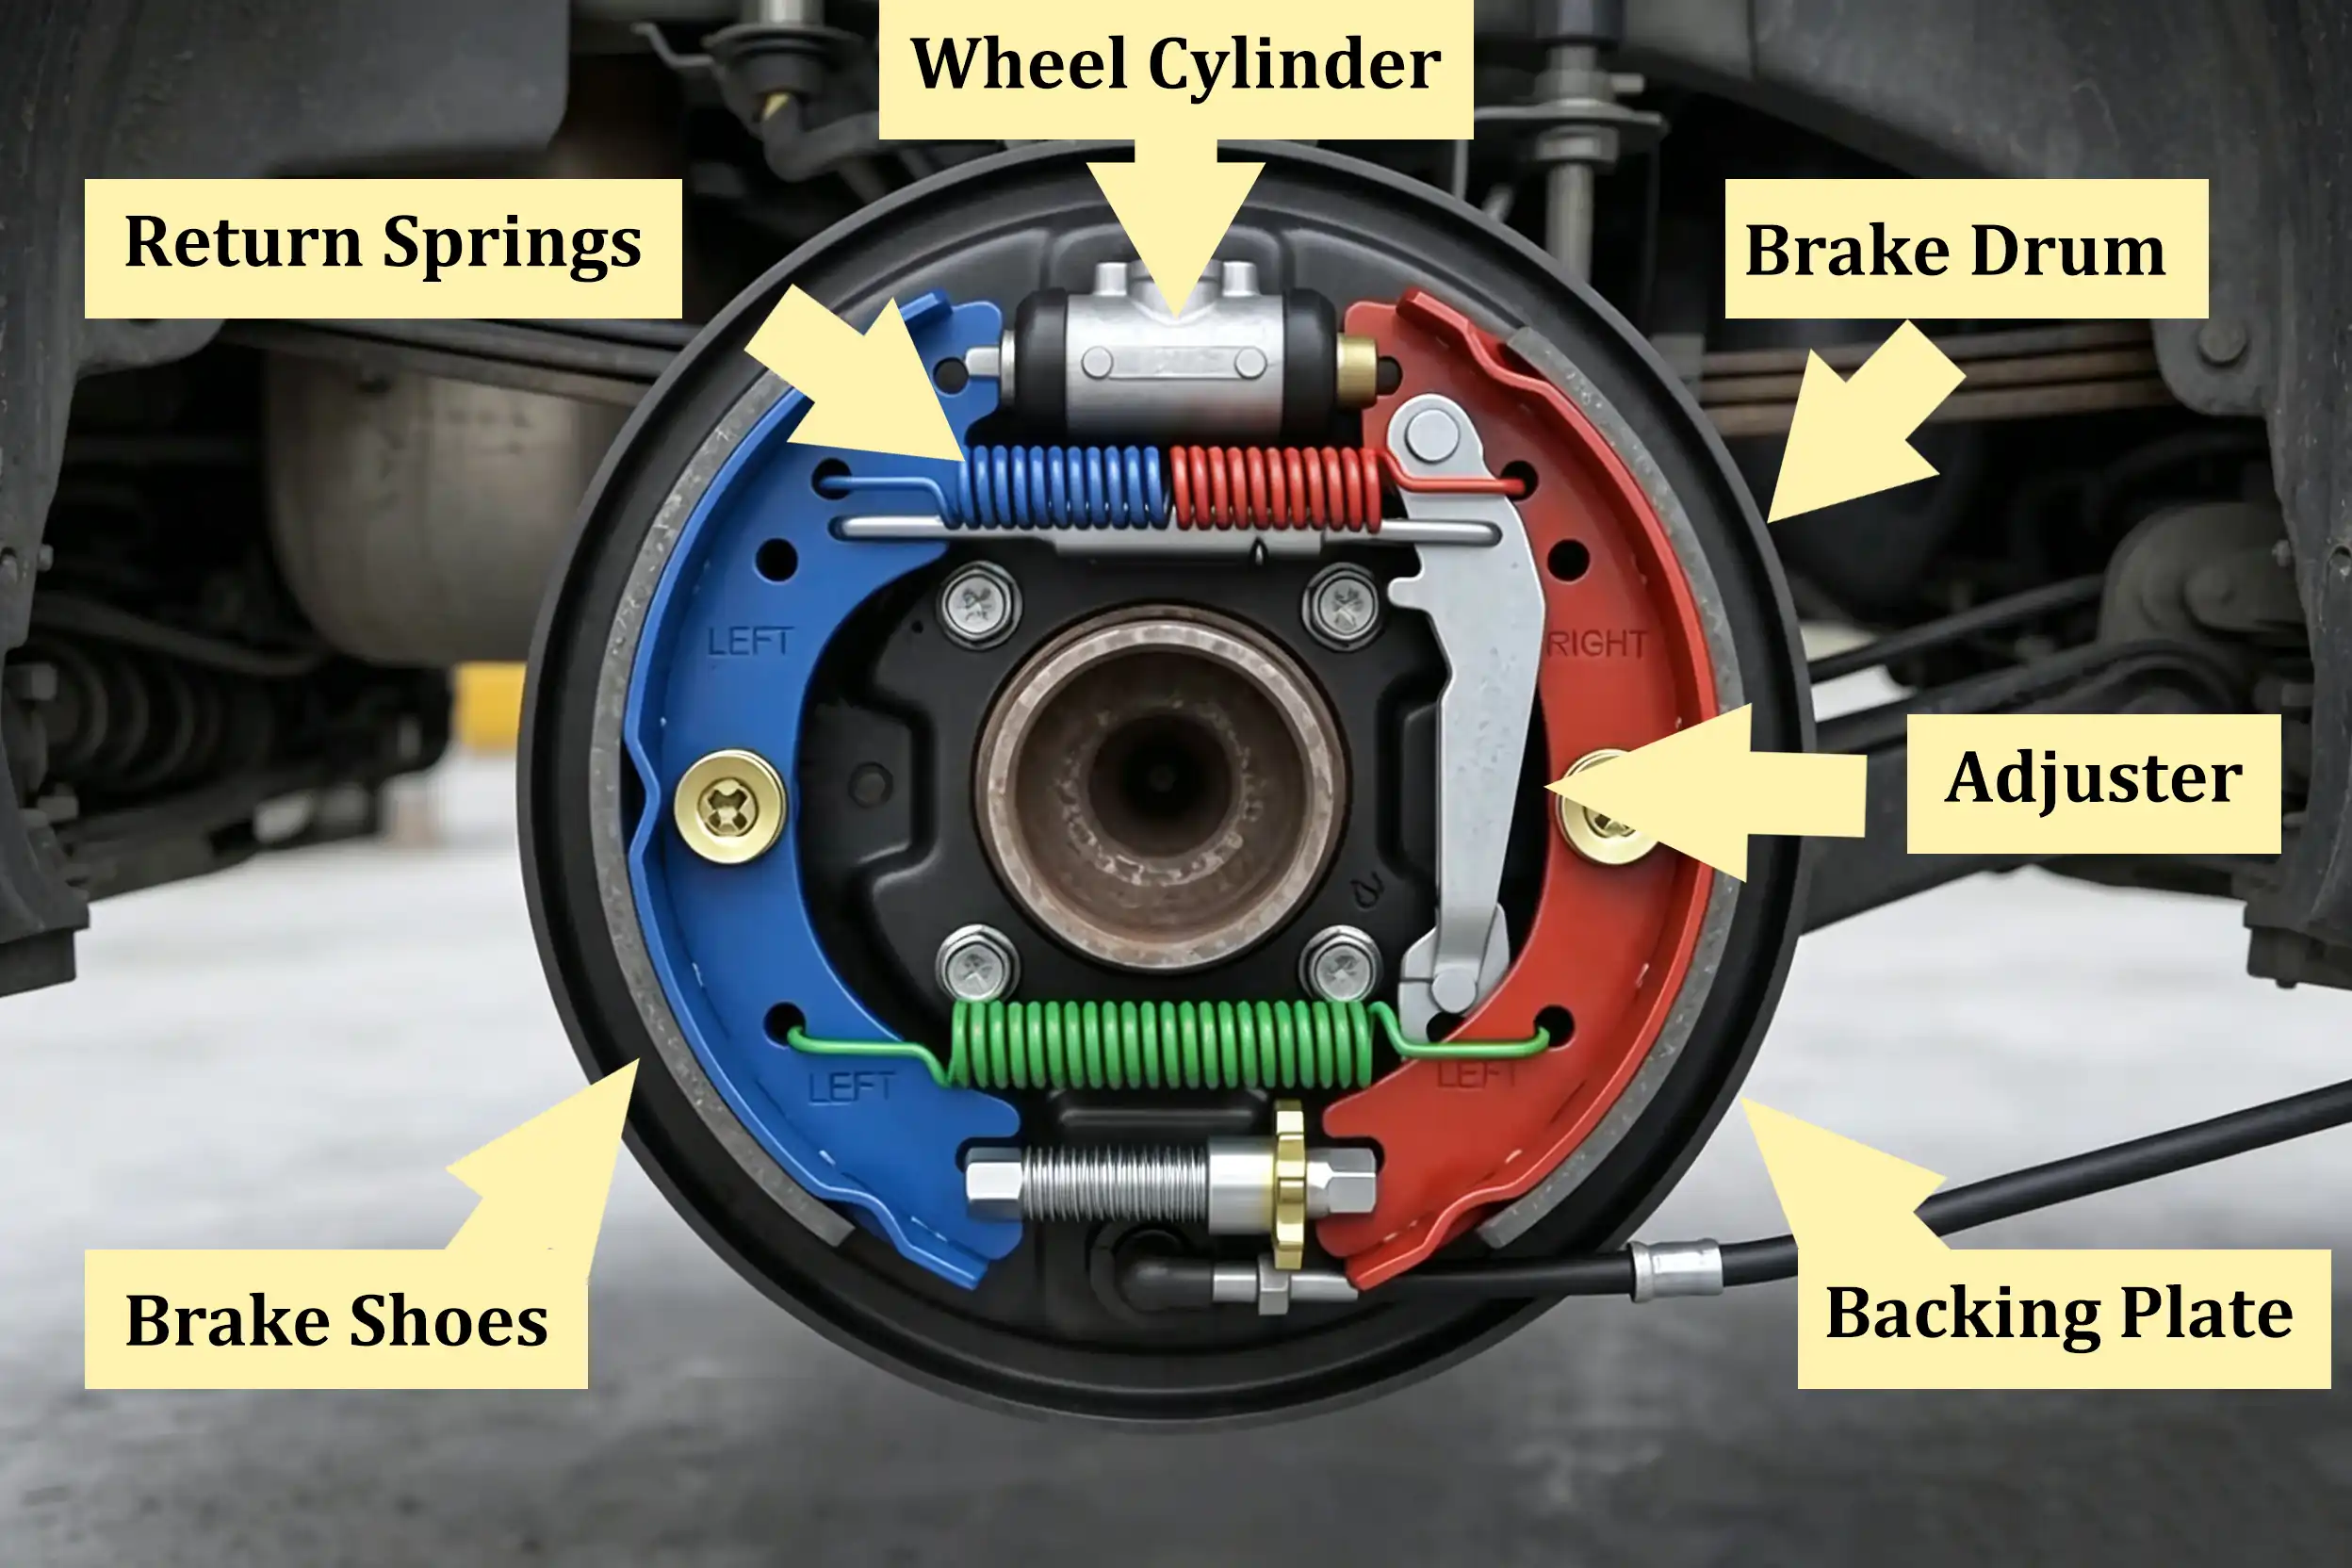
Drum Brake Diagram: How the Parts Fit Together
| Part | Position | Role |
|---|---|---|
| Brake drum | Outermost, attached to the wheel hub | Spins with the wheel; its inner wall takes the friction |
| Brake shoes | Inside the drum, curved along the backing plate | Press outward to create friction |
| Wheel cylinder | Top, between the upper shoe ends | Turns fluid pressure into pushing force |
| Backing plate | Behind everything, fixed to the axle | Carries all the stationary parts |
| Return springs | Stretched across the shoes | Pull the shoes back when braking ends |
| Adjuster | Bottom, between the lower shoe ends | Keeps the shoe-to-drum gap correct as the linings wear |
Brake Drum Definition: What Are Drum Brakes
The brake drum itself is a cast-iron cylinder that rotates with the wheel. Its inner wall is the working surface that the shoes press against, and because braking generates heat, the drum also absorbs that heat and releases it to the surrounding air.
The brake shoes do the actual slowing: they are curved steel plates faced with friction material, fitted two per wheel, and their friction lining wears down gradually with use.
The wheel cylinder sits between the upper ends of the two shoes. Hydraulic pressure moves a piston inside it, and the piston pushes the two shoes apart.
The backing plate is a pressed-steel plate fixed to the axle, and it is the one part of the assembly that never rotates. Everything else mounts onto it: the shoes, the springs, and the wheel cylinder. It is the skeleton of the mechanism.
The return springs pull the shoes away from the drum and back to their rest position when you release the pedal.
Finally, the adjuster compensates for lining wear. As the friction material thins, the gap between each shoe and the drum grows, and the adjuster closes that gap so the shoes stay close to the drum at all times.
How Do Drum Brakes Work? Step by Step
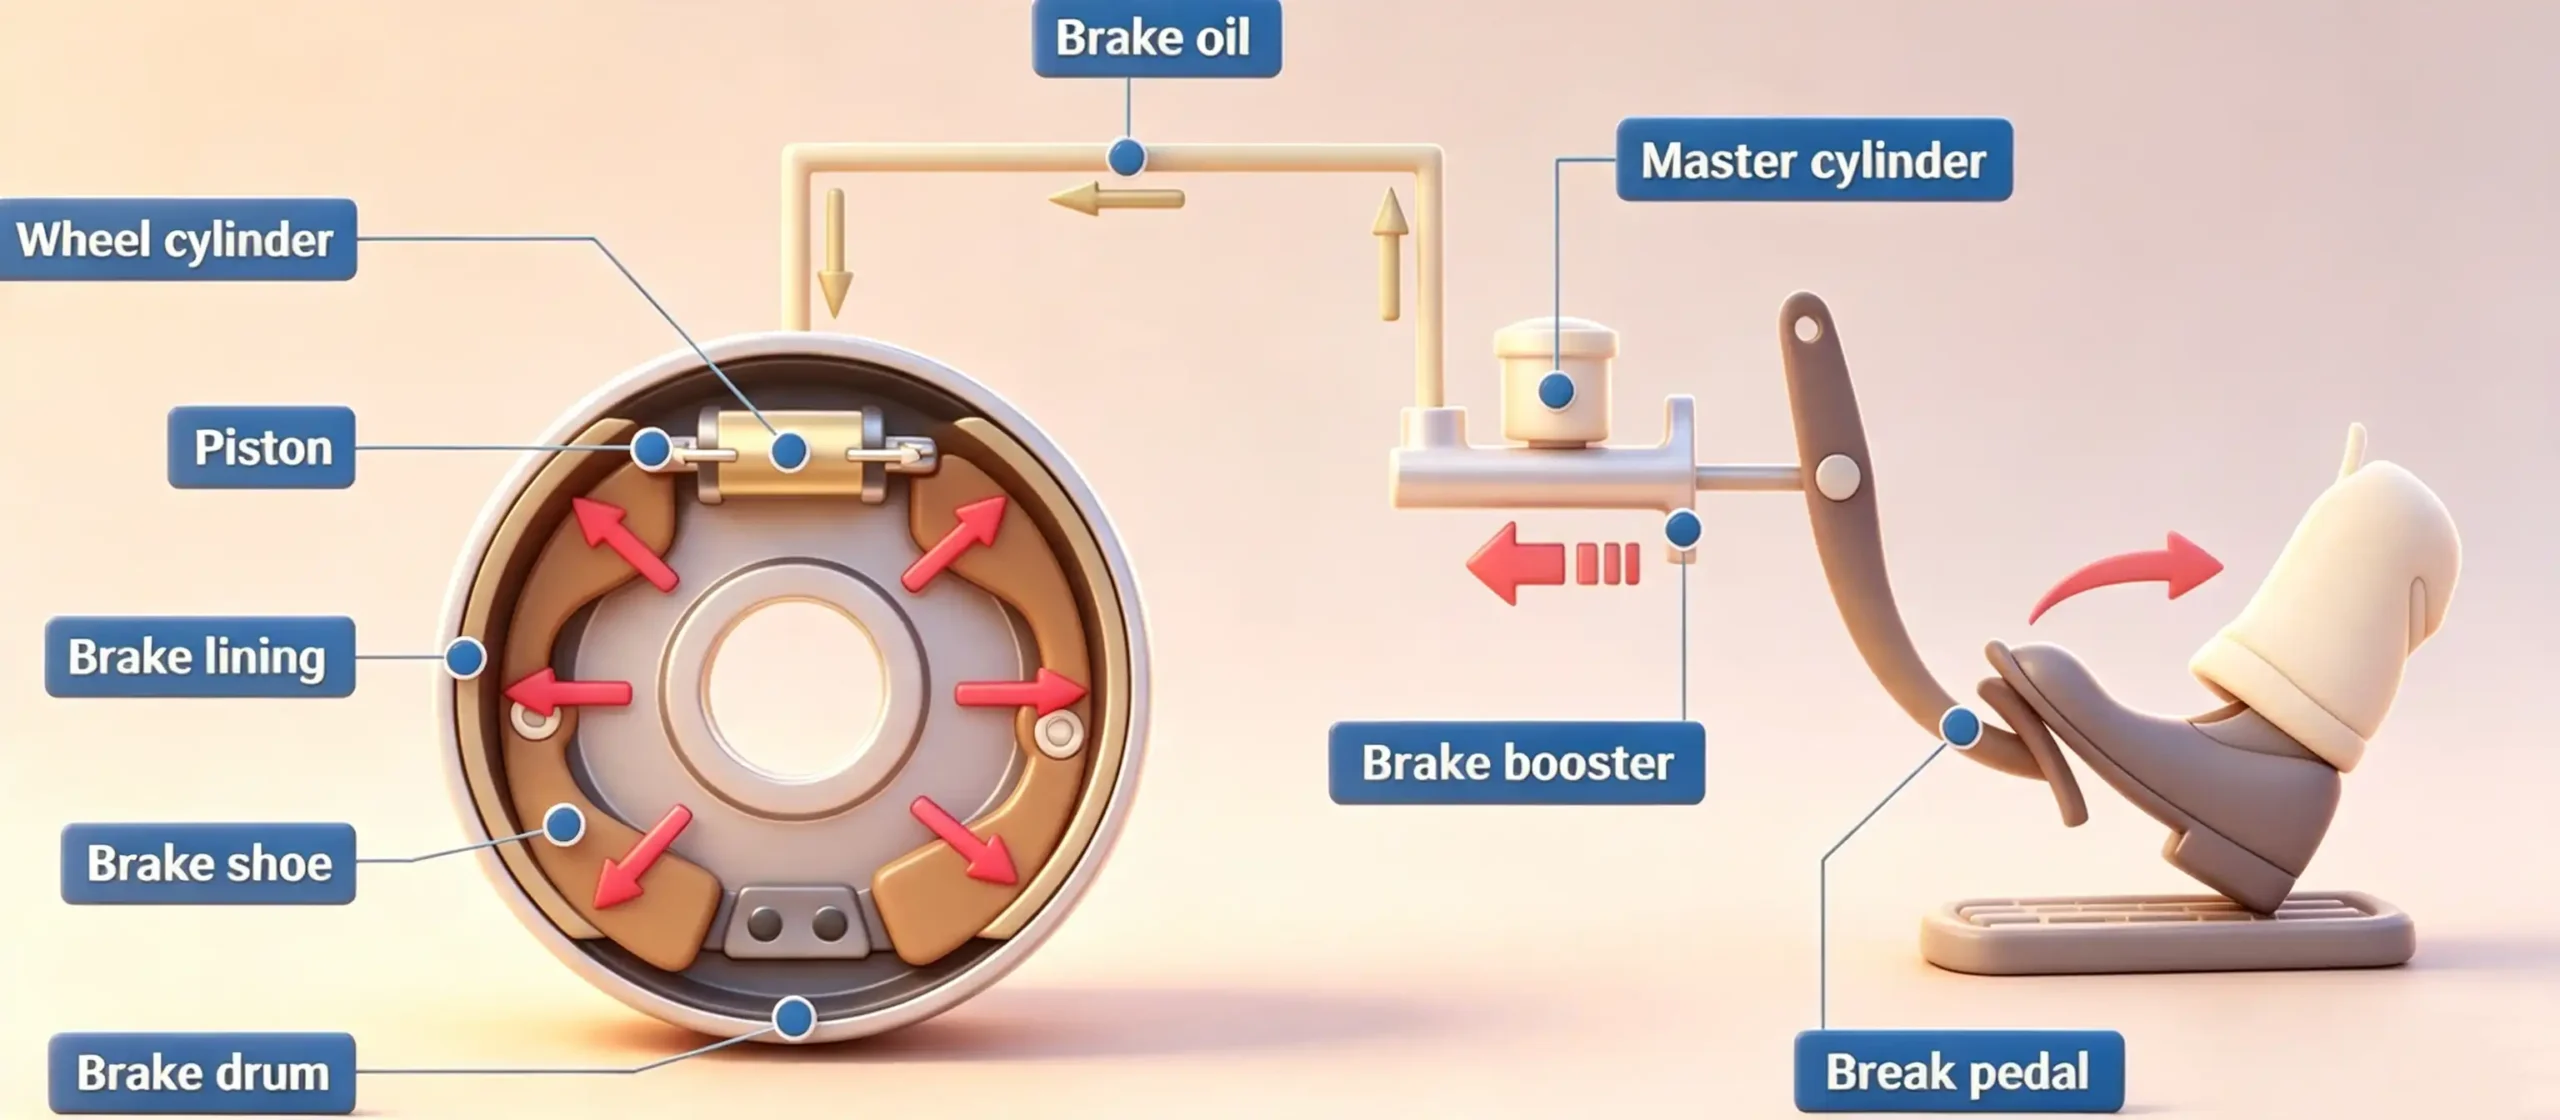
Step 1: You press the pedal. The pedal force first passes through a vacuum booster, which multiplies the effort of your foot.
Step 2: The master cylinder builds pressure. The amplified force pushes a piston inside the master cylinder, pressurizing the brake fluid. This is Pascal’s principle at work: pressure applied to an enclosed fluid is transmitted equally throughout that fluid. A small force acting over a long travel becomes a large force acting over a short travel. The master cylinder’s piston moves several inches; the pistons at the wheels move only a fraction of an inch.
Step 3: Pressure reaches the wheel cylinder. Brake fluid carries the pressure through the brake lines to each wheel. Inside the wheel cylinder, the pressure drives the piston outward.
Step 4: The shoes press against the drum. The piston pushes the two shoes apart and onto the drum’s spinning inner wall. Friction between the linings and the drum converts the car’s kinetic energy into heat. The cast-iron drum absorbs that heat and releases it to the air.
Step 5: You release the pedal. Pressure in the system drops. The return springs pull the shoes back to their rest position, away from the drum. The wheel turns freely again.
Why Do Cars Still Use Drum Brakes?
The physics of braking comes first. When a car decelerates, its weight shifts forward onto the front wheels, so the front axle does most of the stopping work and the rear axle’s braking demand is naturally smaller. Rear drum brakes therefore operate under lighter duty.
The design brings several practical advantages.
First, parking brake integration is simple: a cable and a small lever can push the shoes directly against the drum, and because the mechanism is purely mechanical, it stays independent of the hydraulic circuit.
Second, the enclosed structure shields the working parts from dust and water; protected parts corrode slowly and need little maintenance.
Third, electric vehicles shift even more work away from the friction brakes. The electric motor handles most deceleration through regenerative braking, which also recharges the battery, so the drum brake behind it faces a light and occasional workload. When released, its shoes sit clear of the drum and add almost no rolling resistance.
The design has one clear limitation. The same enclosure that protects the parts also traps heat: under repeated hard braking, the drum heats up and braking force drops until it cools again, a condition known as brake fade.