Wheel bearings use balls or rollers to reduce friction and allow wheels to rotate smoothly. While proper lubrication helps maintain performance, not all wheel bearings can be cleaned or require regular servicing. This guide explains how to clean serviceable bearings, maintain them properly, and avoid common mistakes.
Are Your Wheel Bearings Suitable for Cleaning?
Not all wheel bearings can be disassembled and cleaned. Traditional automotive tapered roller wheel bearings are generally serviceable and can be removed, cleaned, and repacked with fresh grease. However, many modern vehicles use sealed wheel bearing units that are lubricated and sealed at the factory. These units typically need to be replaced as a complete assembly when they fail, rather than disassembled for cleaning.
NOTE
Before starting, identify the bearing type and check the manufacturer’s service recommendations. Even serviceable bearings should be inspected for wear, rust, pitting, and other signs of damage. Cleaning and repacking cannot restore a damaged bearing to proper working condition. Replace any bearing that shows significant damage.
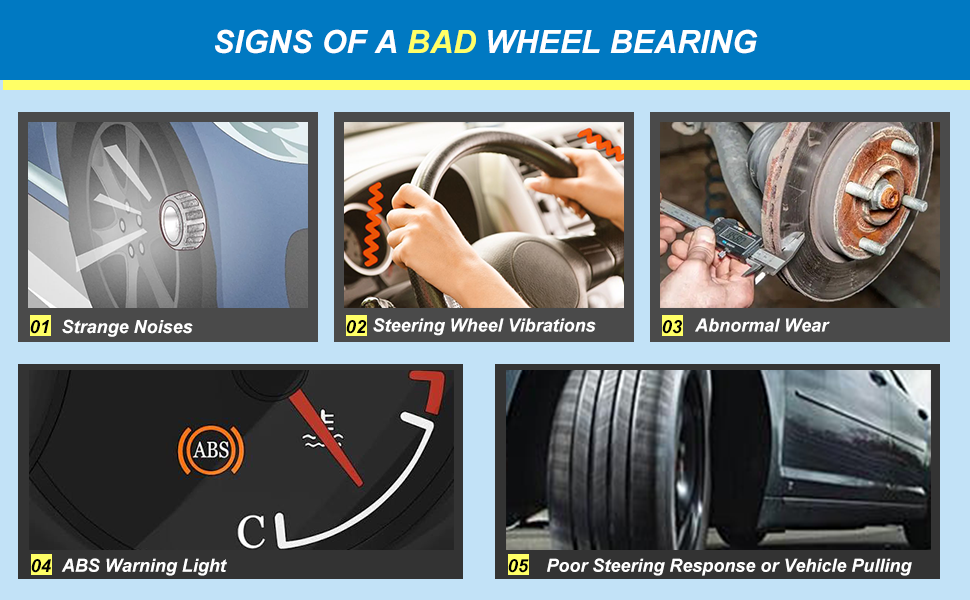
What Does A Bad Wheel Bearing Sound Like
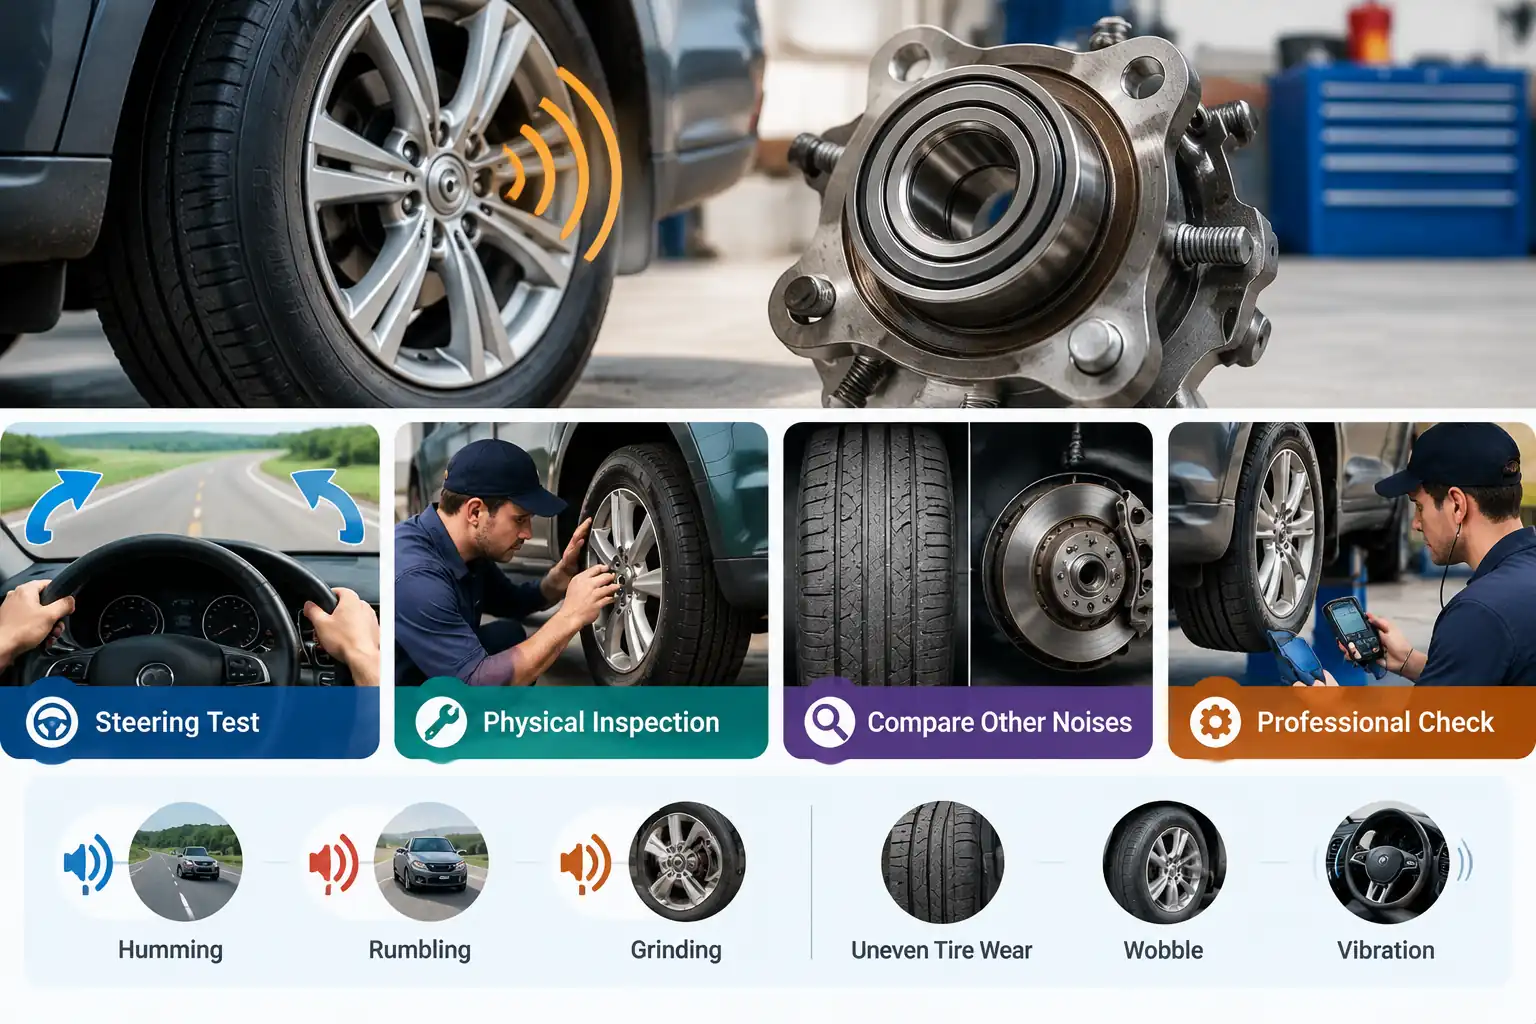
What does a bad wheel bearing sound like? Learn common warning signs, how to distinguish wheel bearing noise from other vehicle noises, and when to seek repair.
Read More
Tools and Supplies for Wheel Bearing Cleaning
Before cleaning your wheel bearings, confirm that they are serviceable and gather the necessary tools. You’ll need a jack, jack stands, and wheel chocks to raise and safely support the vehicle; a socket and ratchet set, along with a hub puller if needed, to remove components; and a suitable bearing cleaner, a container, lint-free cloths, soft brushes, manufacturer-recommended bearing grease, and a torque wrench for reassembly.
How to Clean Wheel Bearings: Step by Step
Step 1: Wheel Hub Bearing Removal
Follow the vehicle’s service manual to remove the wheel, any necessary brake components, and the associated fasteners. Then use the appropriate tools to remove the wheel bearing or hub assembly, as applicable. Take care not to damage the bearing seat or mating surfaces. Since bearing designs and removal procedures vary by vehicle, confirm the correct procedure and tool requirements for your specific model before beginning the job.
Step 2: Wheel Hub Bearing Removal
Remove the serviceable wheel bearings according to their design and the manufacturer’s service instructions for cleaning and inspection.
01.
Remove the dust cap and retaining hardware
Remove the dust cap, depending on the hub design. Then remove the cotter pin, locking device, retaining nut, washer, and other hardware in the specified order, taking care not to damage any components.
02.
Remove the bearing components
For serviceable tapered roller wheel bearings, remove the outer bearing first, following the service manual’s instructions. Then remove the hub and any necessary seals to access the inner bearing. Removed oil seals should generally be replaced. Routine maintenance does not normally require disassembling the bearing itself into rollers, cage, and inner ring.
03.
Inspect the bearings
Check the rollers, inner and outer raceways, and cage for wear, pitting, spalling, rust, cracks, and signs of overheating, such as discoloration. Also inspect the outer ring and its seating surfaces for looseness, wear, or damage.
04.
Organize and store the components
Keep all removed bearings and related parts clean, protected, and organized to prevent contamination, damage, or loss and ensure correct reassembly.
NOTE
Not all wheel bearings are designed for disassembly and servicing. Sealed wheel bearings and integrated hub-and-bearing assemblies generally should not be opened for cleaning or regreasing by the owner. Follow the manufacturer’s service instructions to determine whether inspection, servicing, or replacement is appropriate.
Step 3: How to Clean Wheel Bearings
Choose a cleaning method appropriate for the bearing type and the manufacturer’s recommendations to remove old grease and contaminants thoroughly.
01.
Solvent Cleaning
Place the serviceable bearing in a clean container and use a cleaning solvent compatible with the bearing materials. Gently move or rotate the bearing by hand, as appropriate, to remove residual grease and dirt.
02.
Removing Stubborn Deposits
For persistent buildup, use a suitable bearing cleaner and a soft brush. Avoid scratching the raceways or damaging the cage.
03.
Cleaning Seals
Clean seals separately only if permitted by the manufacturer. Use the recommended cleaning method and a compatible cleaner to prevent damage or deformation. Replace seals if required by the service instructions.
04.
Drying Thoroughly
After cleaning, wipe away surface residue with a lint-free cloth and allow the bearing to air-dry completely. If necessary, use clean, dry, oil-free compressed air at a controlled pressure. Never allow the bearing to spin at high speed during drying.
NOTE
Ensure that all cleaning agents are compatible with the bearing materials, cage, and seals. Do not mix solvents or use aggressive cleaners without confirming material compatibility. Once the bearing is completely dry, inspect it for wear or damage and promptly repack it with the manufacturer-specified grease, if applicable, to help prevent corrosion and ensure proper lubrication.
Step 4: Regreasing the Wheel Bearings
Once the bearing has been cleaned and thoroughly dried, repack it with the appropriate grease to ensure adequate lubrication of the rolling elements and raceways.
01.
Choose the Right Grease
Use grease that meets the vehicle or bearing manufacturer’s specifications. Do not mix different types of grease unless the manufacturer confirms they are compatible.
02.
Apply Grease Evenly
For serviceable bearings, use clean hands or a suitable tool to work grease between the rollers and ensure it reaches the rolling elements and raceways.
03.
Pack the Bearing by Hand
For traditional automotive tapered roller bearings, place enough grease in the palm of your hand to pack the bearing. Press the wide end of the bearing into the grease repeatedly until grease emerges from the opposite side of the rollers. Repeat around the entire circumference until all rollers are adequately packed.
NOTE
Follow the manufacturer’s specifications for grease type and quantity. Insufficient lubrication can accelerate wear, while excess grease can increase operating temperatures in some applications. Sealed wheel bearing units are typically lubricated at the factory and generally should not be opened for regreasing.
Step 5: Reinstalling the Bearing Assembly
After confirming that the bearing is clean, completely dry, and free of damage, reinstall it according to the manufacturer’s instructions.
01.
Install the Bearing Correctly
Ensure that the bearing and related components are installed in the correct order, orientation, and position.
02.
Use the Proper Tools
Use the appropriate bearing installation tools or a press. Avoid striking the bearing directly or applying installation force through the rolling elements.
03.
Secure the Bearing and Check the Adjustment
Install the seals and retaining components according to the service manual. Follow the specified torque values and bearing clearance or preload requirements, as applicable.
NOTE
Installation procedures vary by bearing design. Always follow the manufacturer’s service instructions.
Step 6: Reinstall the Wheel and Check the Wheel Bearings
Reinstall the wheel, brake rotor, and related components according to the vehicle manufacturer’s service manual. Tighten all fasteners to the specified torque values. After reassembly, check the following:
01.
Check for Smooth Rotation
Make sure the wheel rotates smoothly without unusual binding or rubbing.
02.
Check for Excessive Play
Check for abnormal lateral movement or excessive bearing play, and verify that the bearing preload meets the manufacturer’s specifications, where applicable.
03.
Watch for Signs of Trouble
After reassembly, pay attention to any unusual noise, vibration, or signs of looseness while driving.
Wheel Bearing Maintenance Tips to Extend Bearing Life
Proper installation, adequate lubrication, and keeping contaminants out can help extend bearing service life. Here are three key maintenance tips:
01.
Ensure Proper Installation
Improper installation or an incorrect fit can lead to premature bearing failure. Always use the appropriate tools and follow the manufacturer’s installation procedures, including the specified torque values and bearing clearance or preload requirements, where applicable.
02.
Prevent Overheating
Inadequate lubrication, improper installation, excessive loads, and abnormal friction can all cause bearings to overheat. Make sure the bearings are properly lubricated, and watch for unusual increases in temperature, noise, or vibration. When welding, make sure the welding current does not pass through the bearings, as this can cause electrical damage.
03.
Keep Bearings Clean
Dust, grit, and moisture can accelerate bearing wear and cause corrosion. Inspect and maintain bearings according to their type and operating conditions. Remove dirt and contaminants promptly, and avoid directing high-pressure water at bearing seals. Always use the grease specified by the manufacturer and apply the recommended amount. In some applications, excess grease can increase rotational resistance and operating temperature.